When you start out making Sterling Silver Jewellery, one of first items you may decide to make is a Sterling Silver Hammered Bar Necklace.
It will give you practice in sawing, filing, sanding, texturing as well as stamping and polishing before you branch out and make other items.
In the end, you’ll have made a beautifully hand crafted necklace that you can wear with any outfit, which can be easily personalised.
With this in mind, I thought I’d share the steps needed to make this item…
Step One
Source some sheet sterling silver, in your desired depth.
I normally choose 1.00mm fully annealed for this type of Bar Necklace. It will come with a protective coating on which will be pealed away at a later stage.
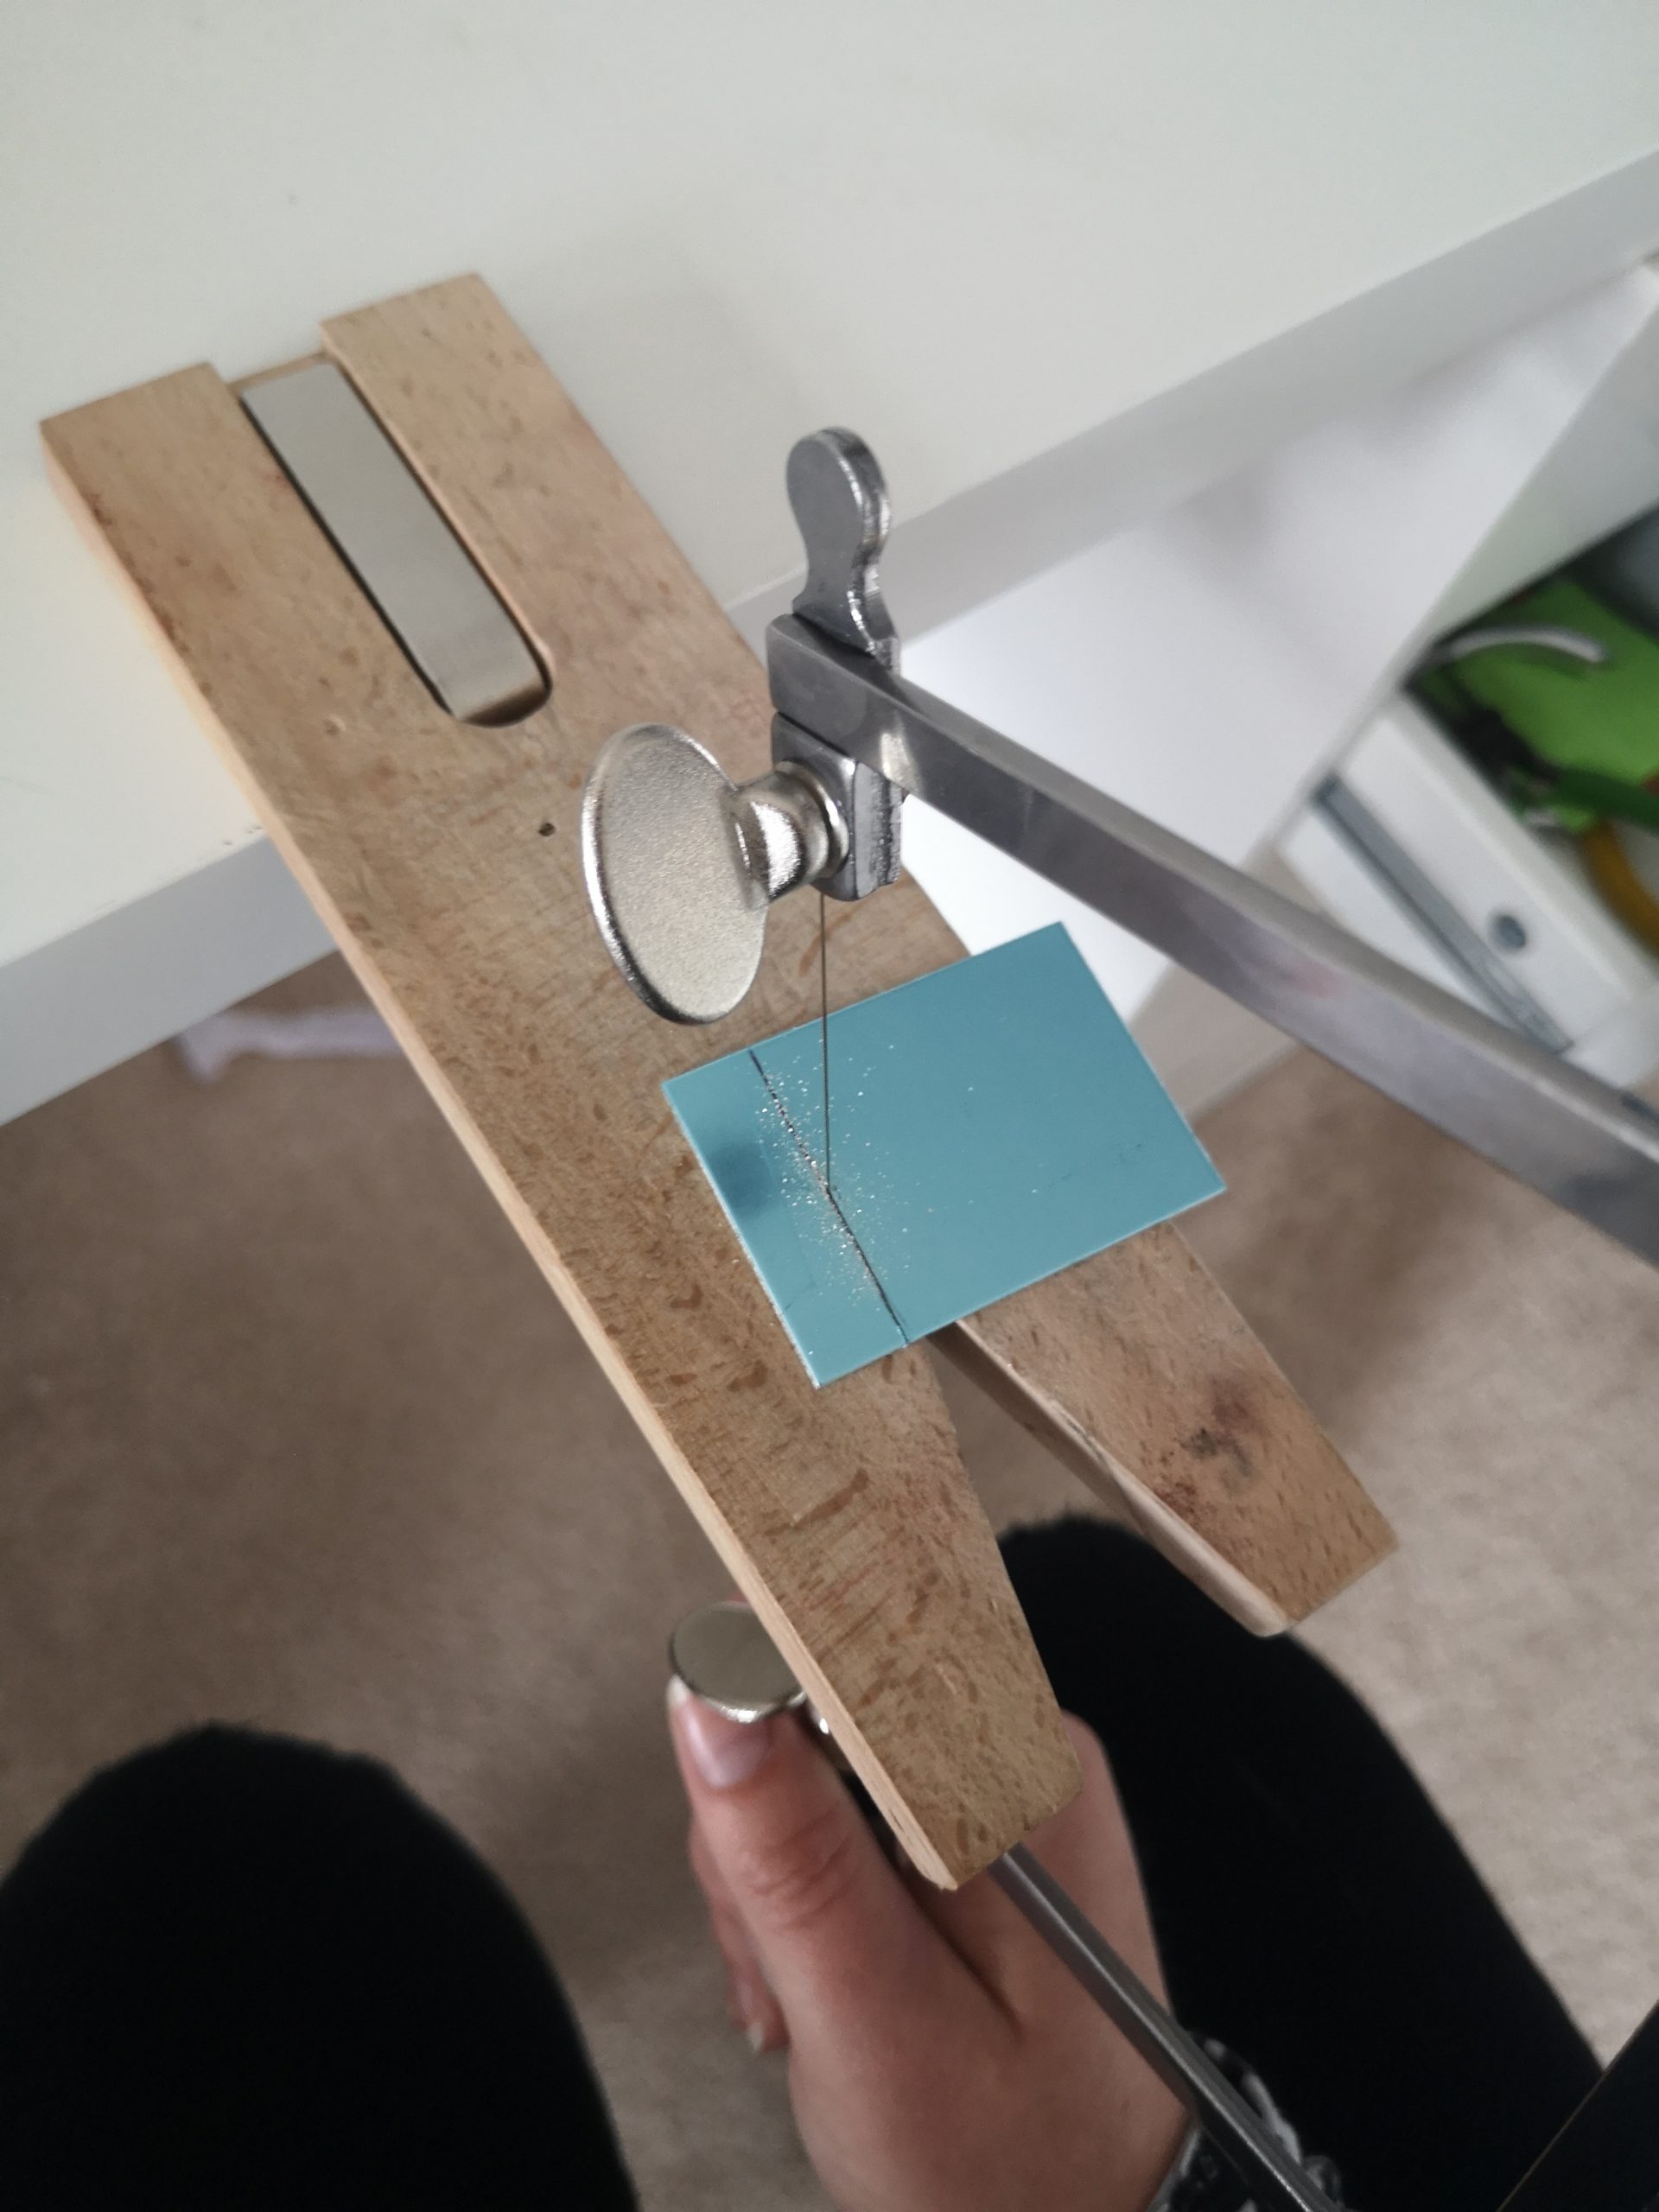
Mark on a line of where you will saw. My bar necklaces are usually 1cm wide.
Begin sawing along the line, with the saw vertical.
Step Two
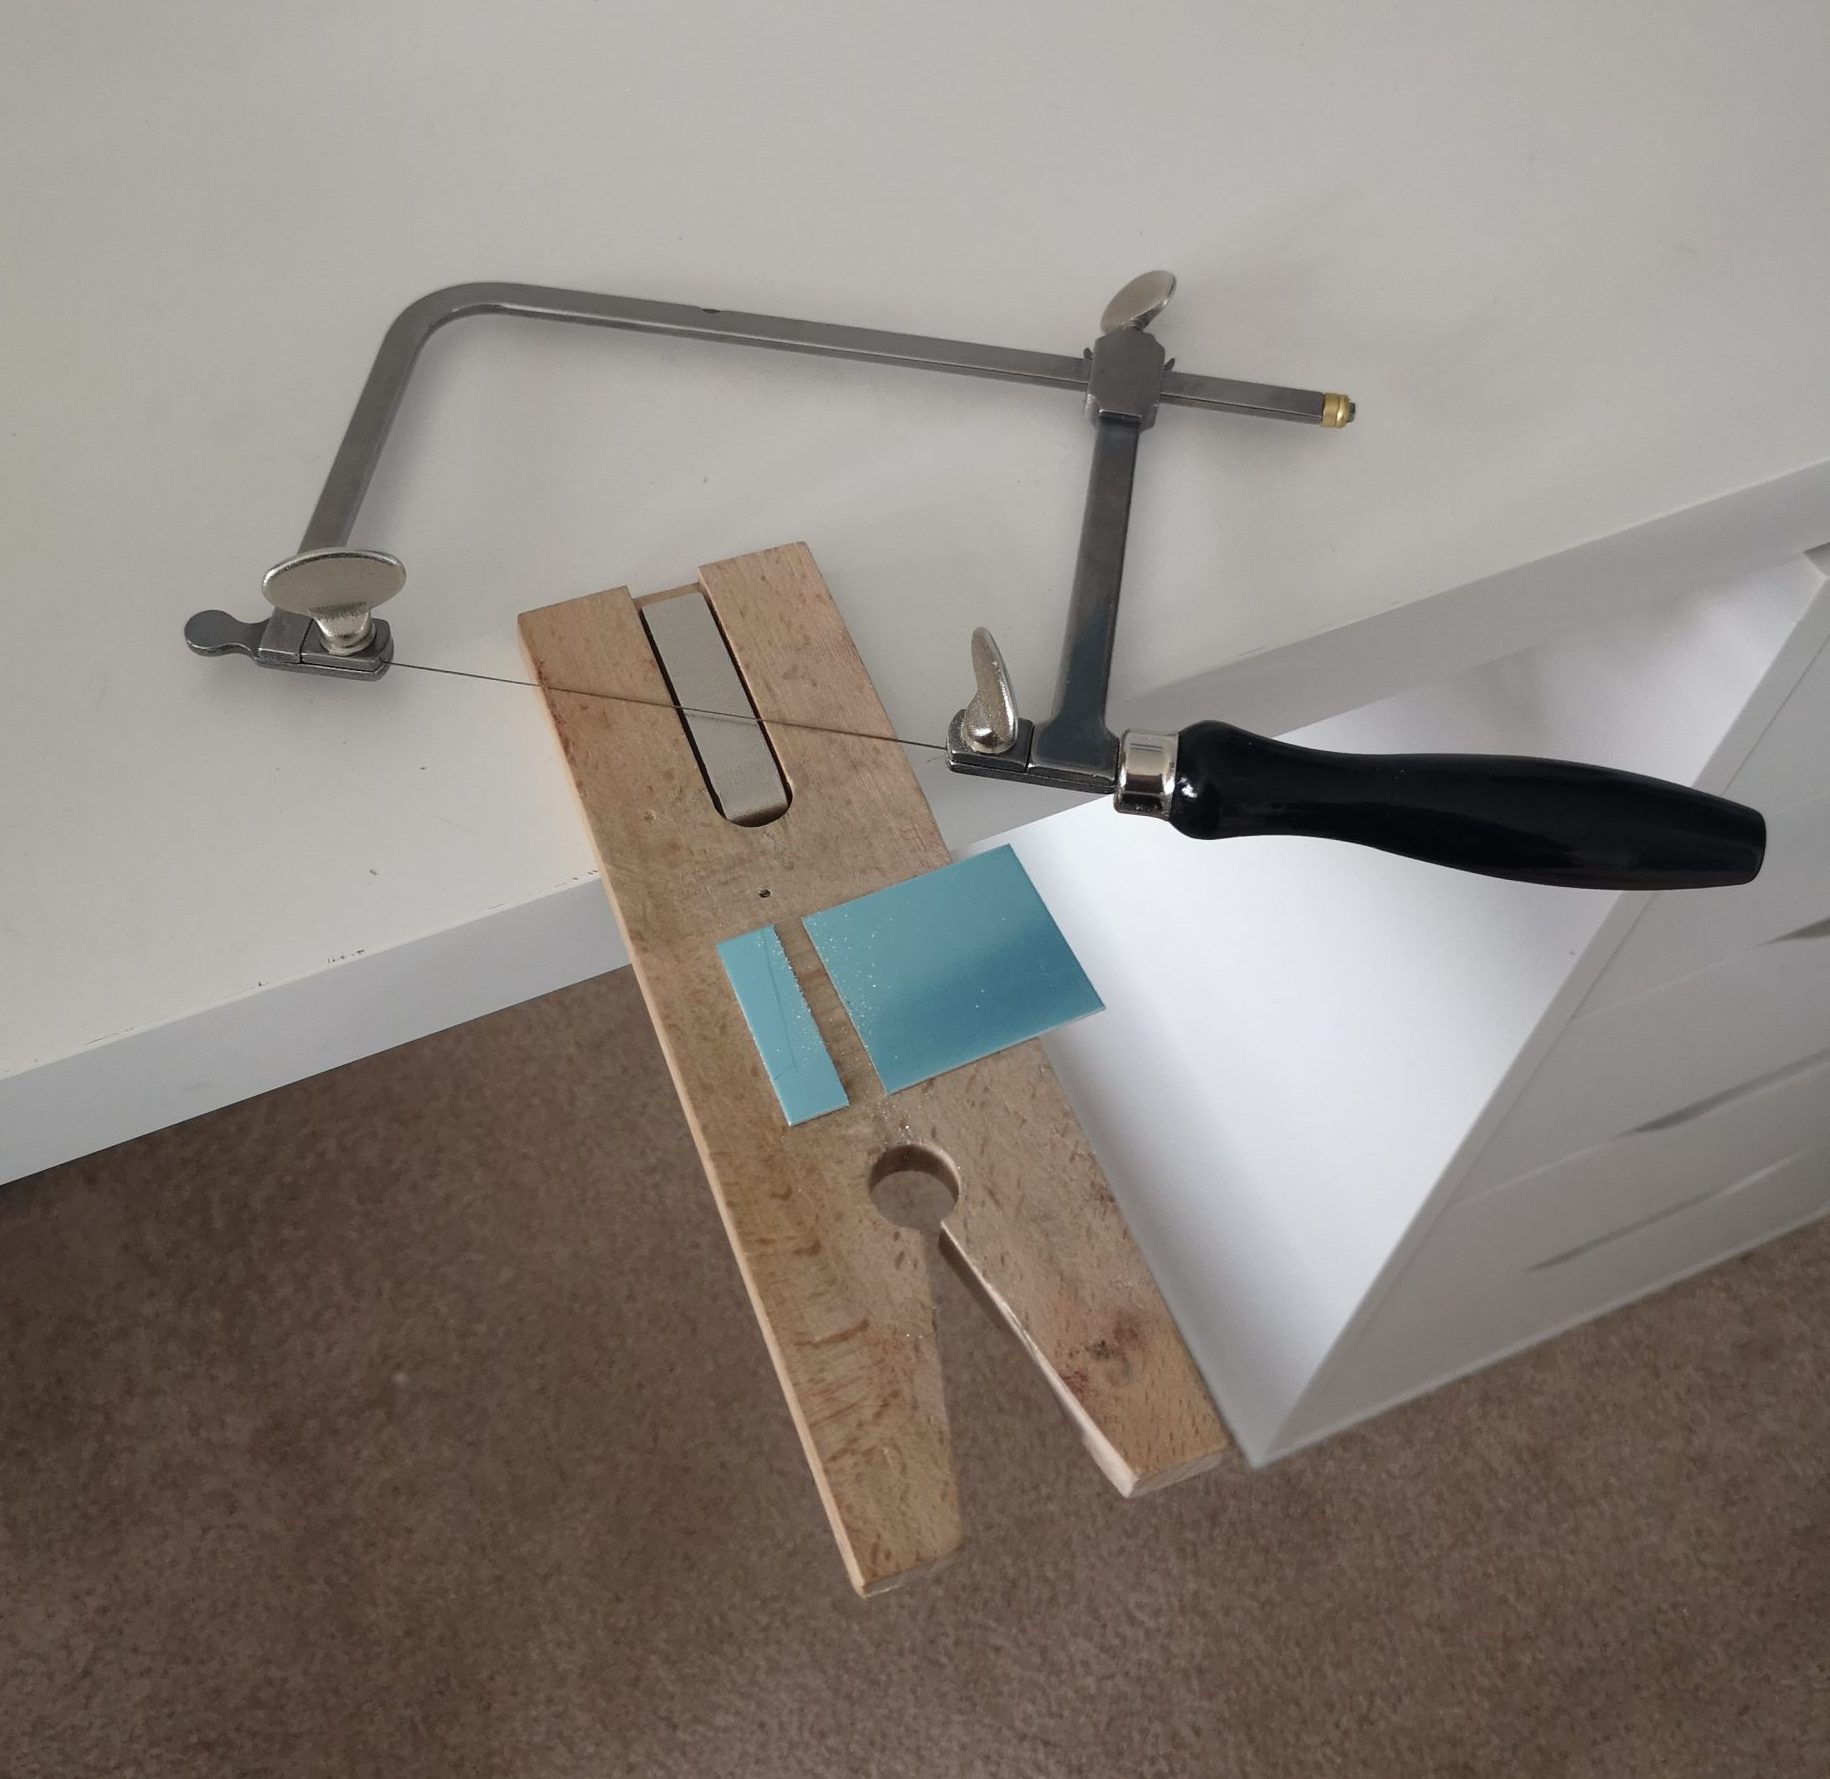
Keep sawing until you have reached the end of your silver sheet, and you are left with two pieces.
Step Three
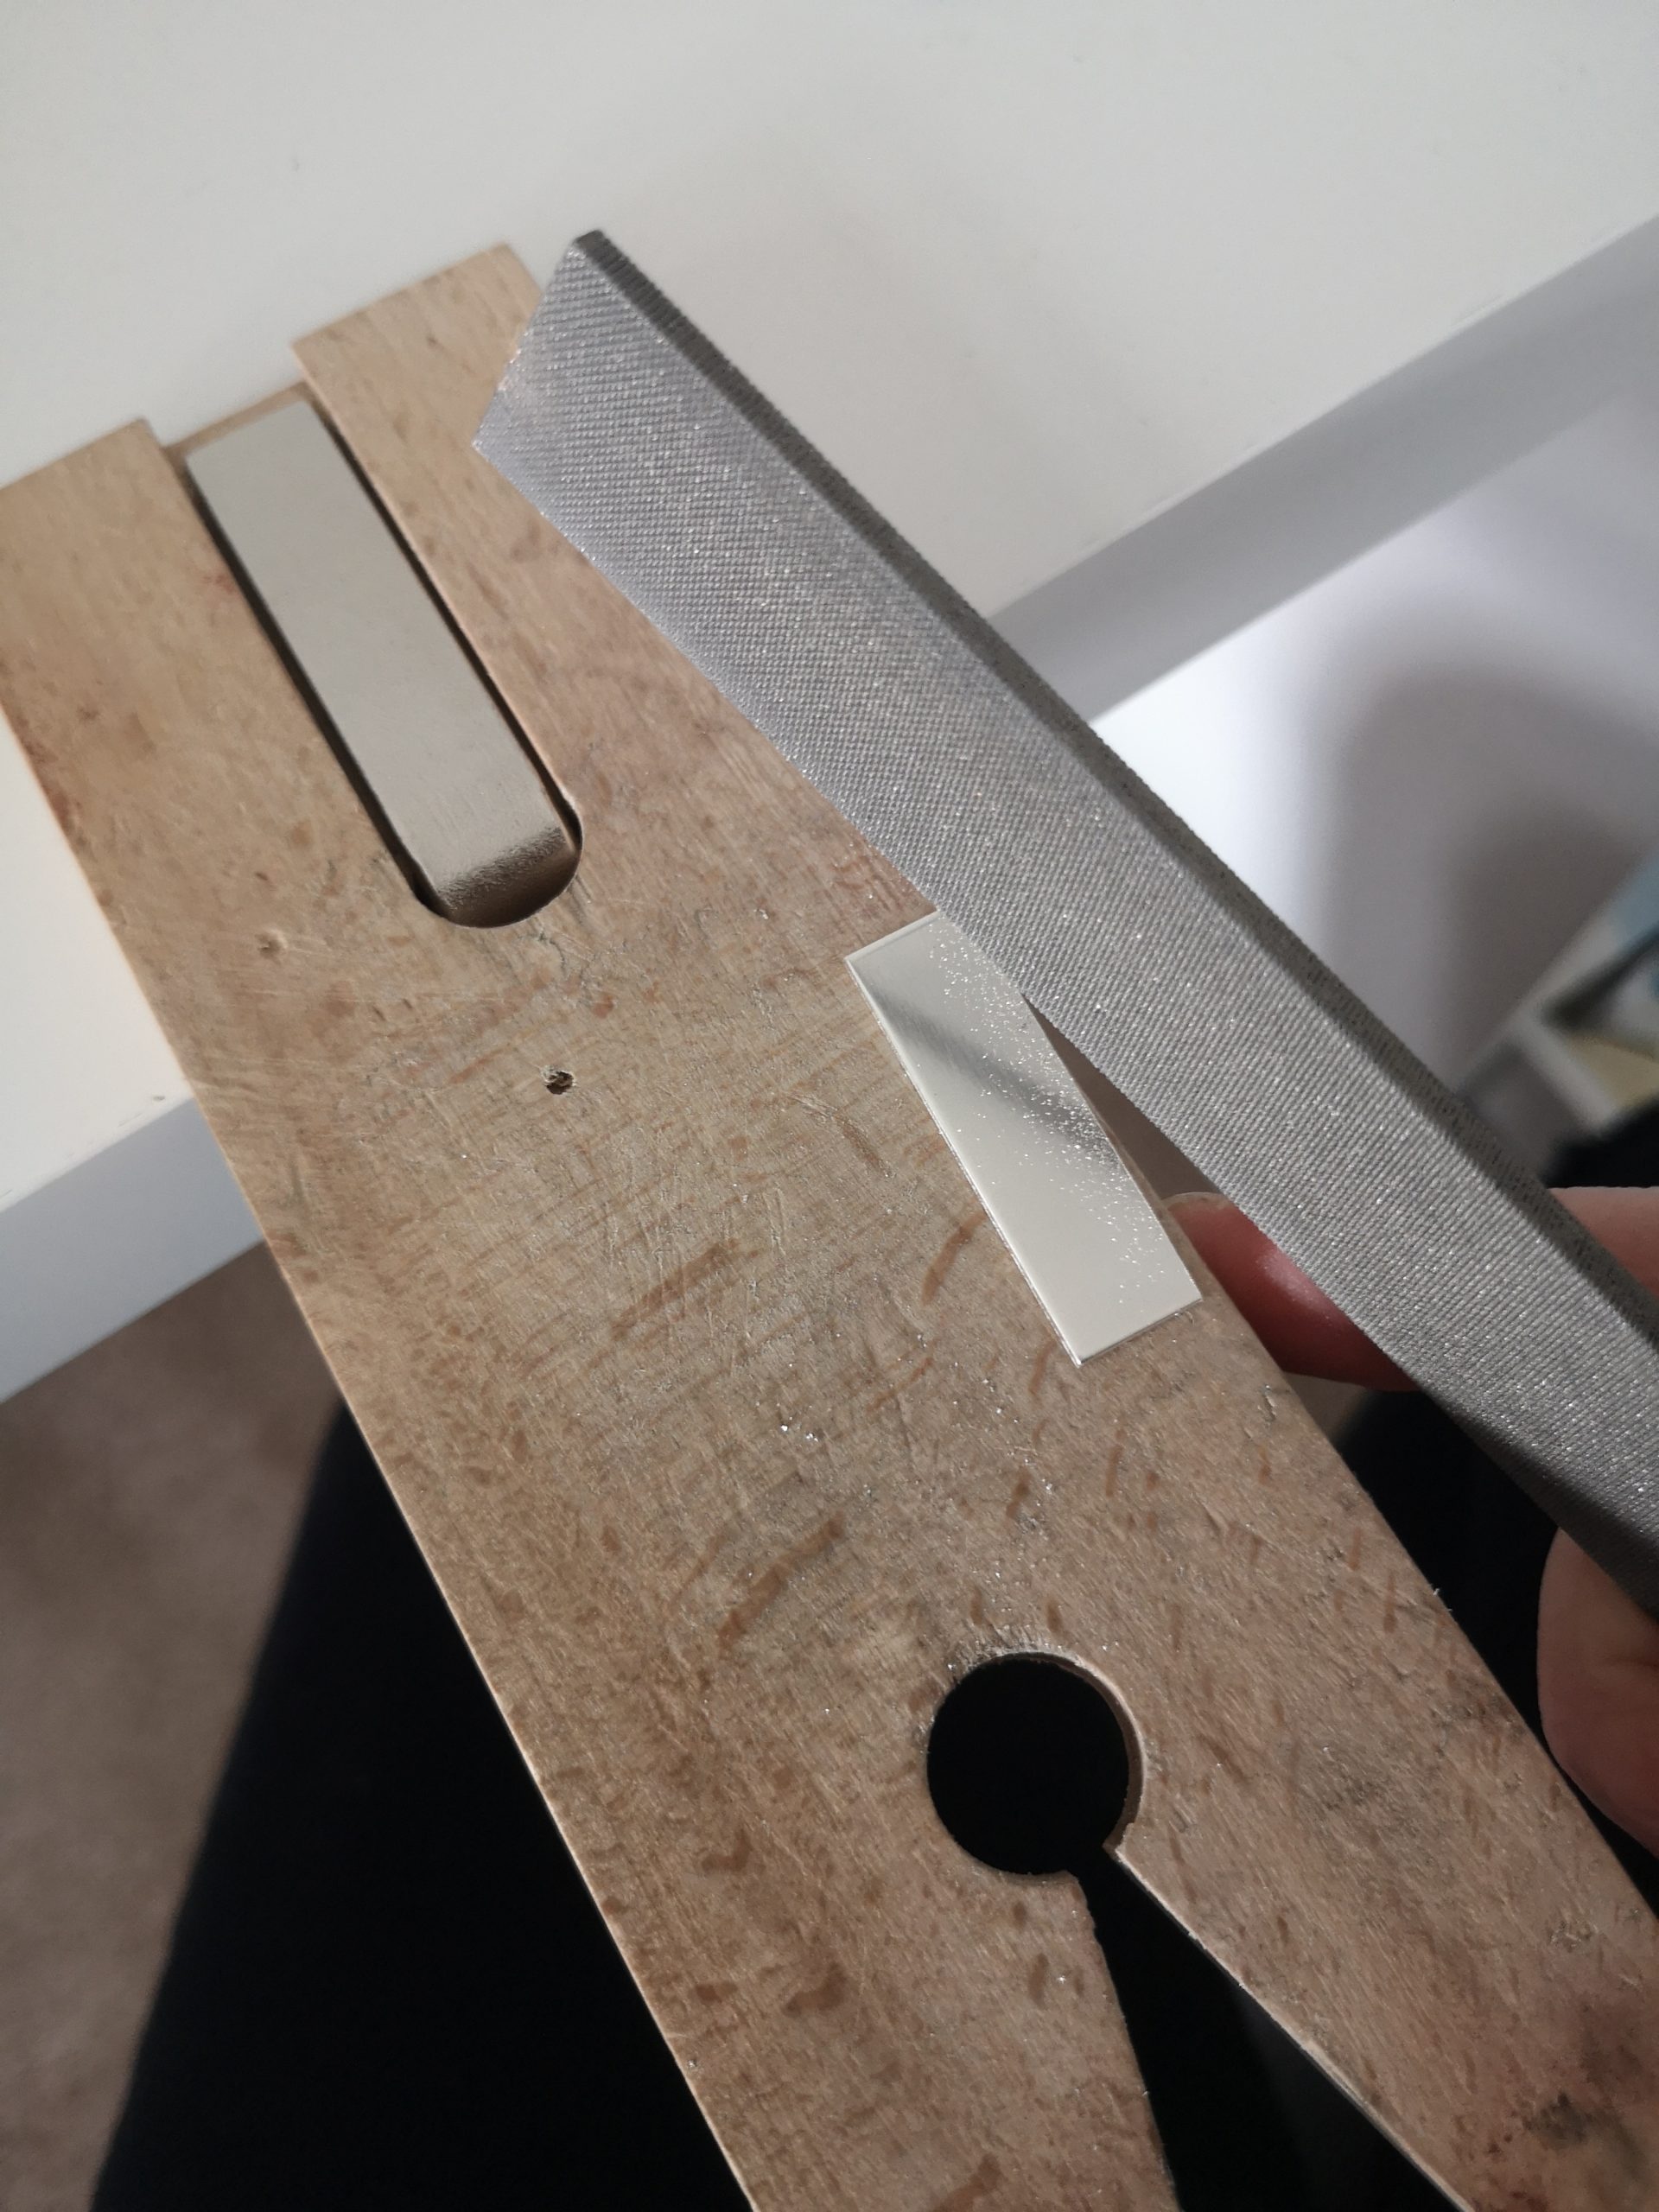
Now you’ll need a couple of files. Start with the most coarse. Here, I use a 0.
You need to file all four flat edges down so they are straight and smooth. Try and round the corners as you go so that they all match and are also smooth.
Then if you want a soft edge to your bar necklace, you’ll need to start filing the edges ever so slightly.
Repeat the process with a less course file – I use a 4.
Step Four
Next we want to smooth those edges even more so they are soft to touch.
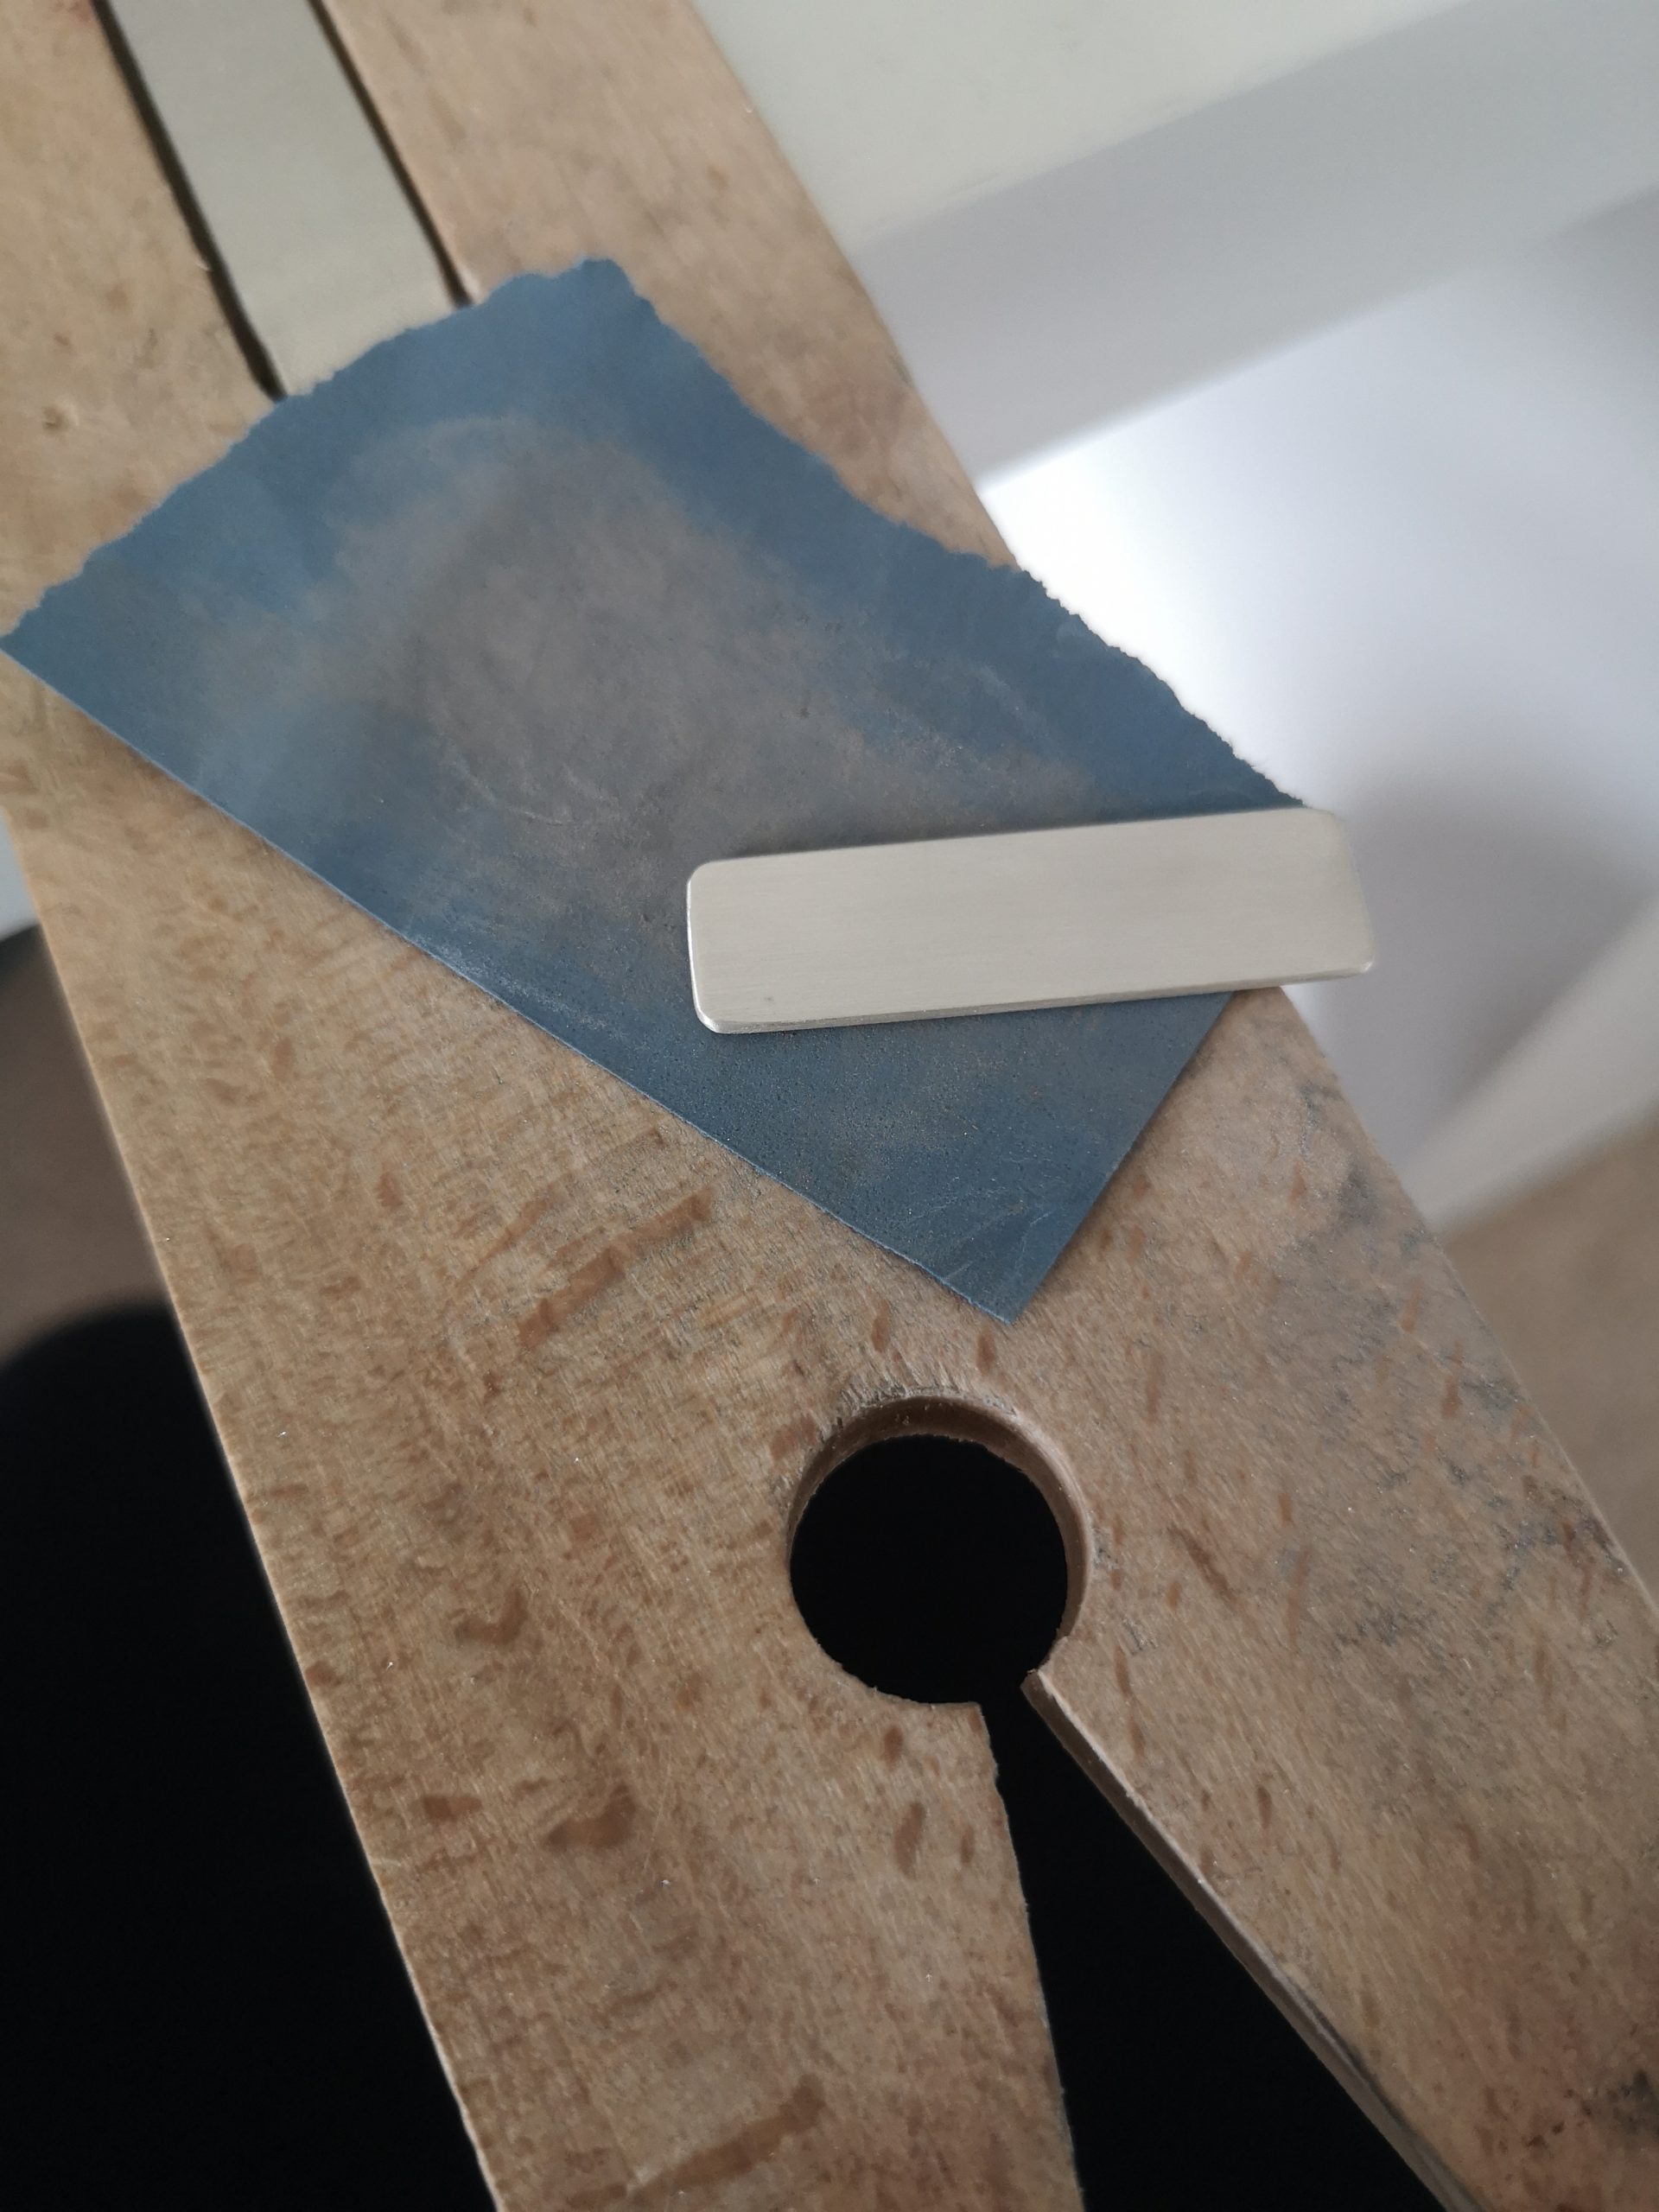
Grab some wet and dry paper – They also come in various coarseness, so start with the roughest and work your way down.
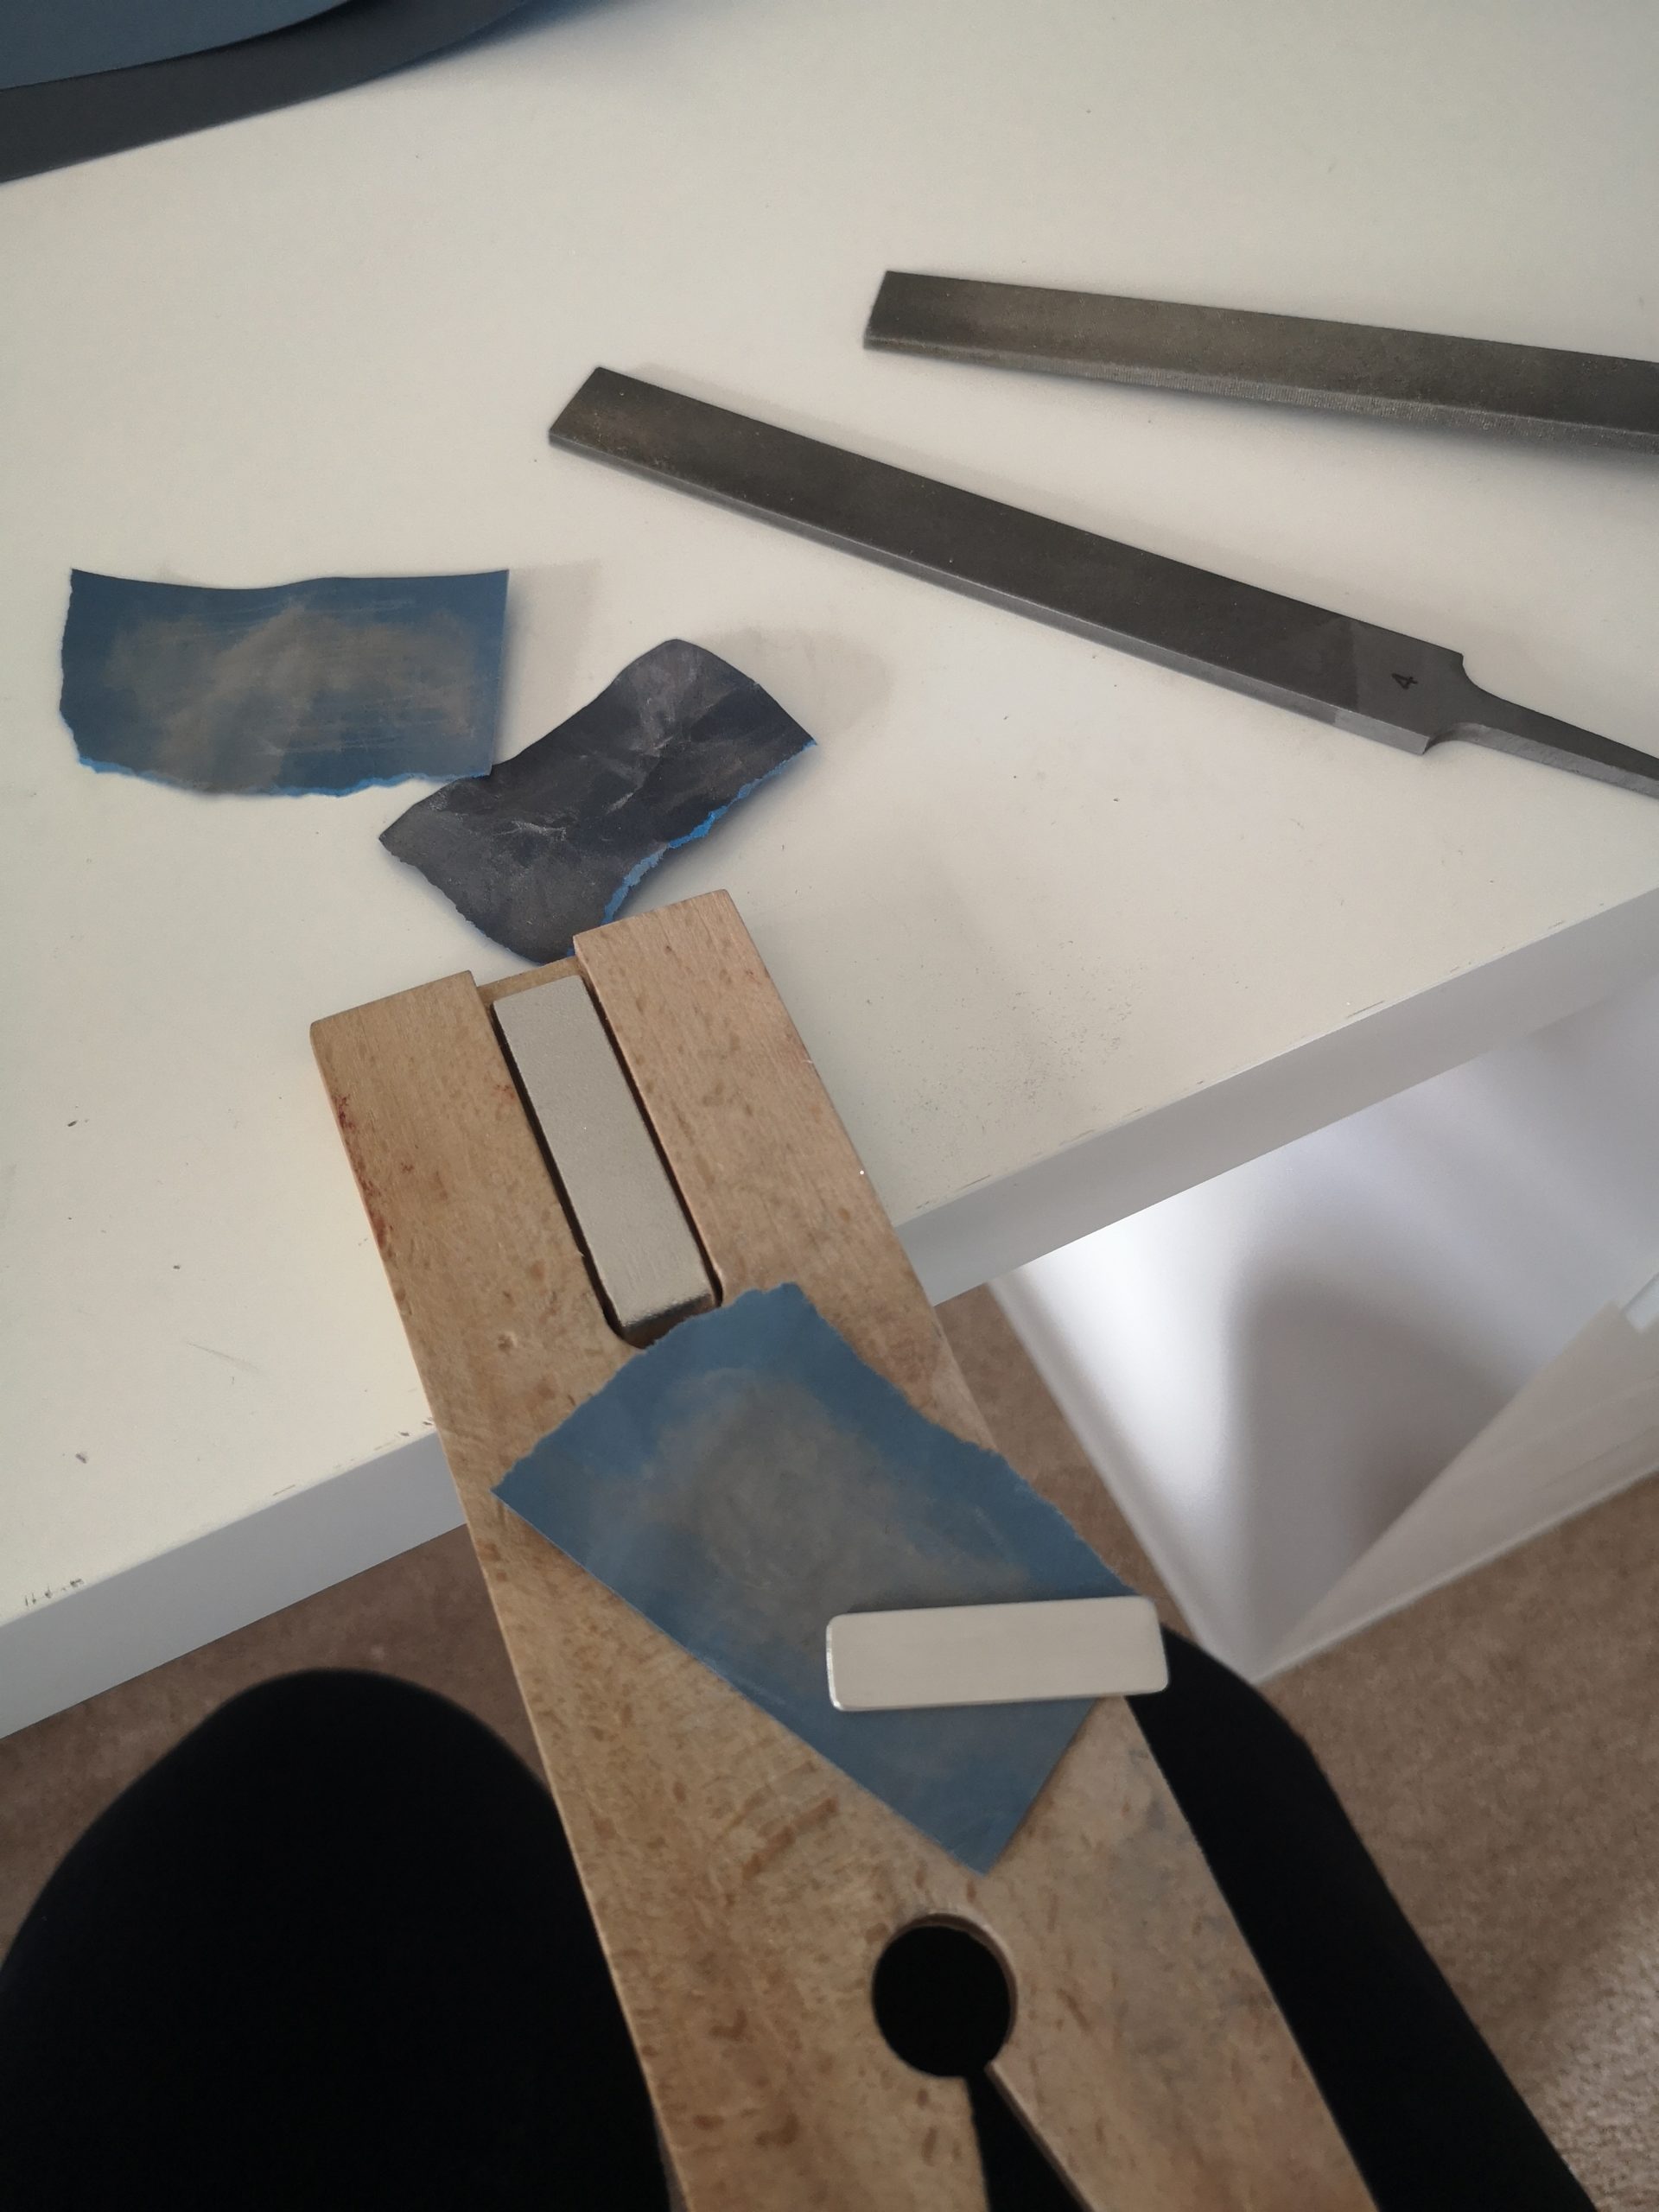
Remember to also sand the main flat surface of your bar!
Step Five
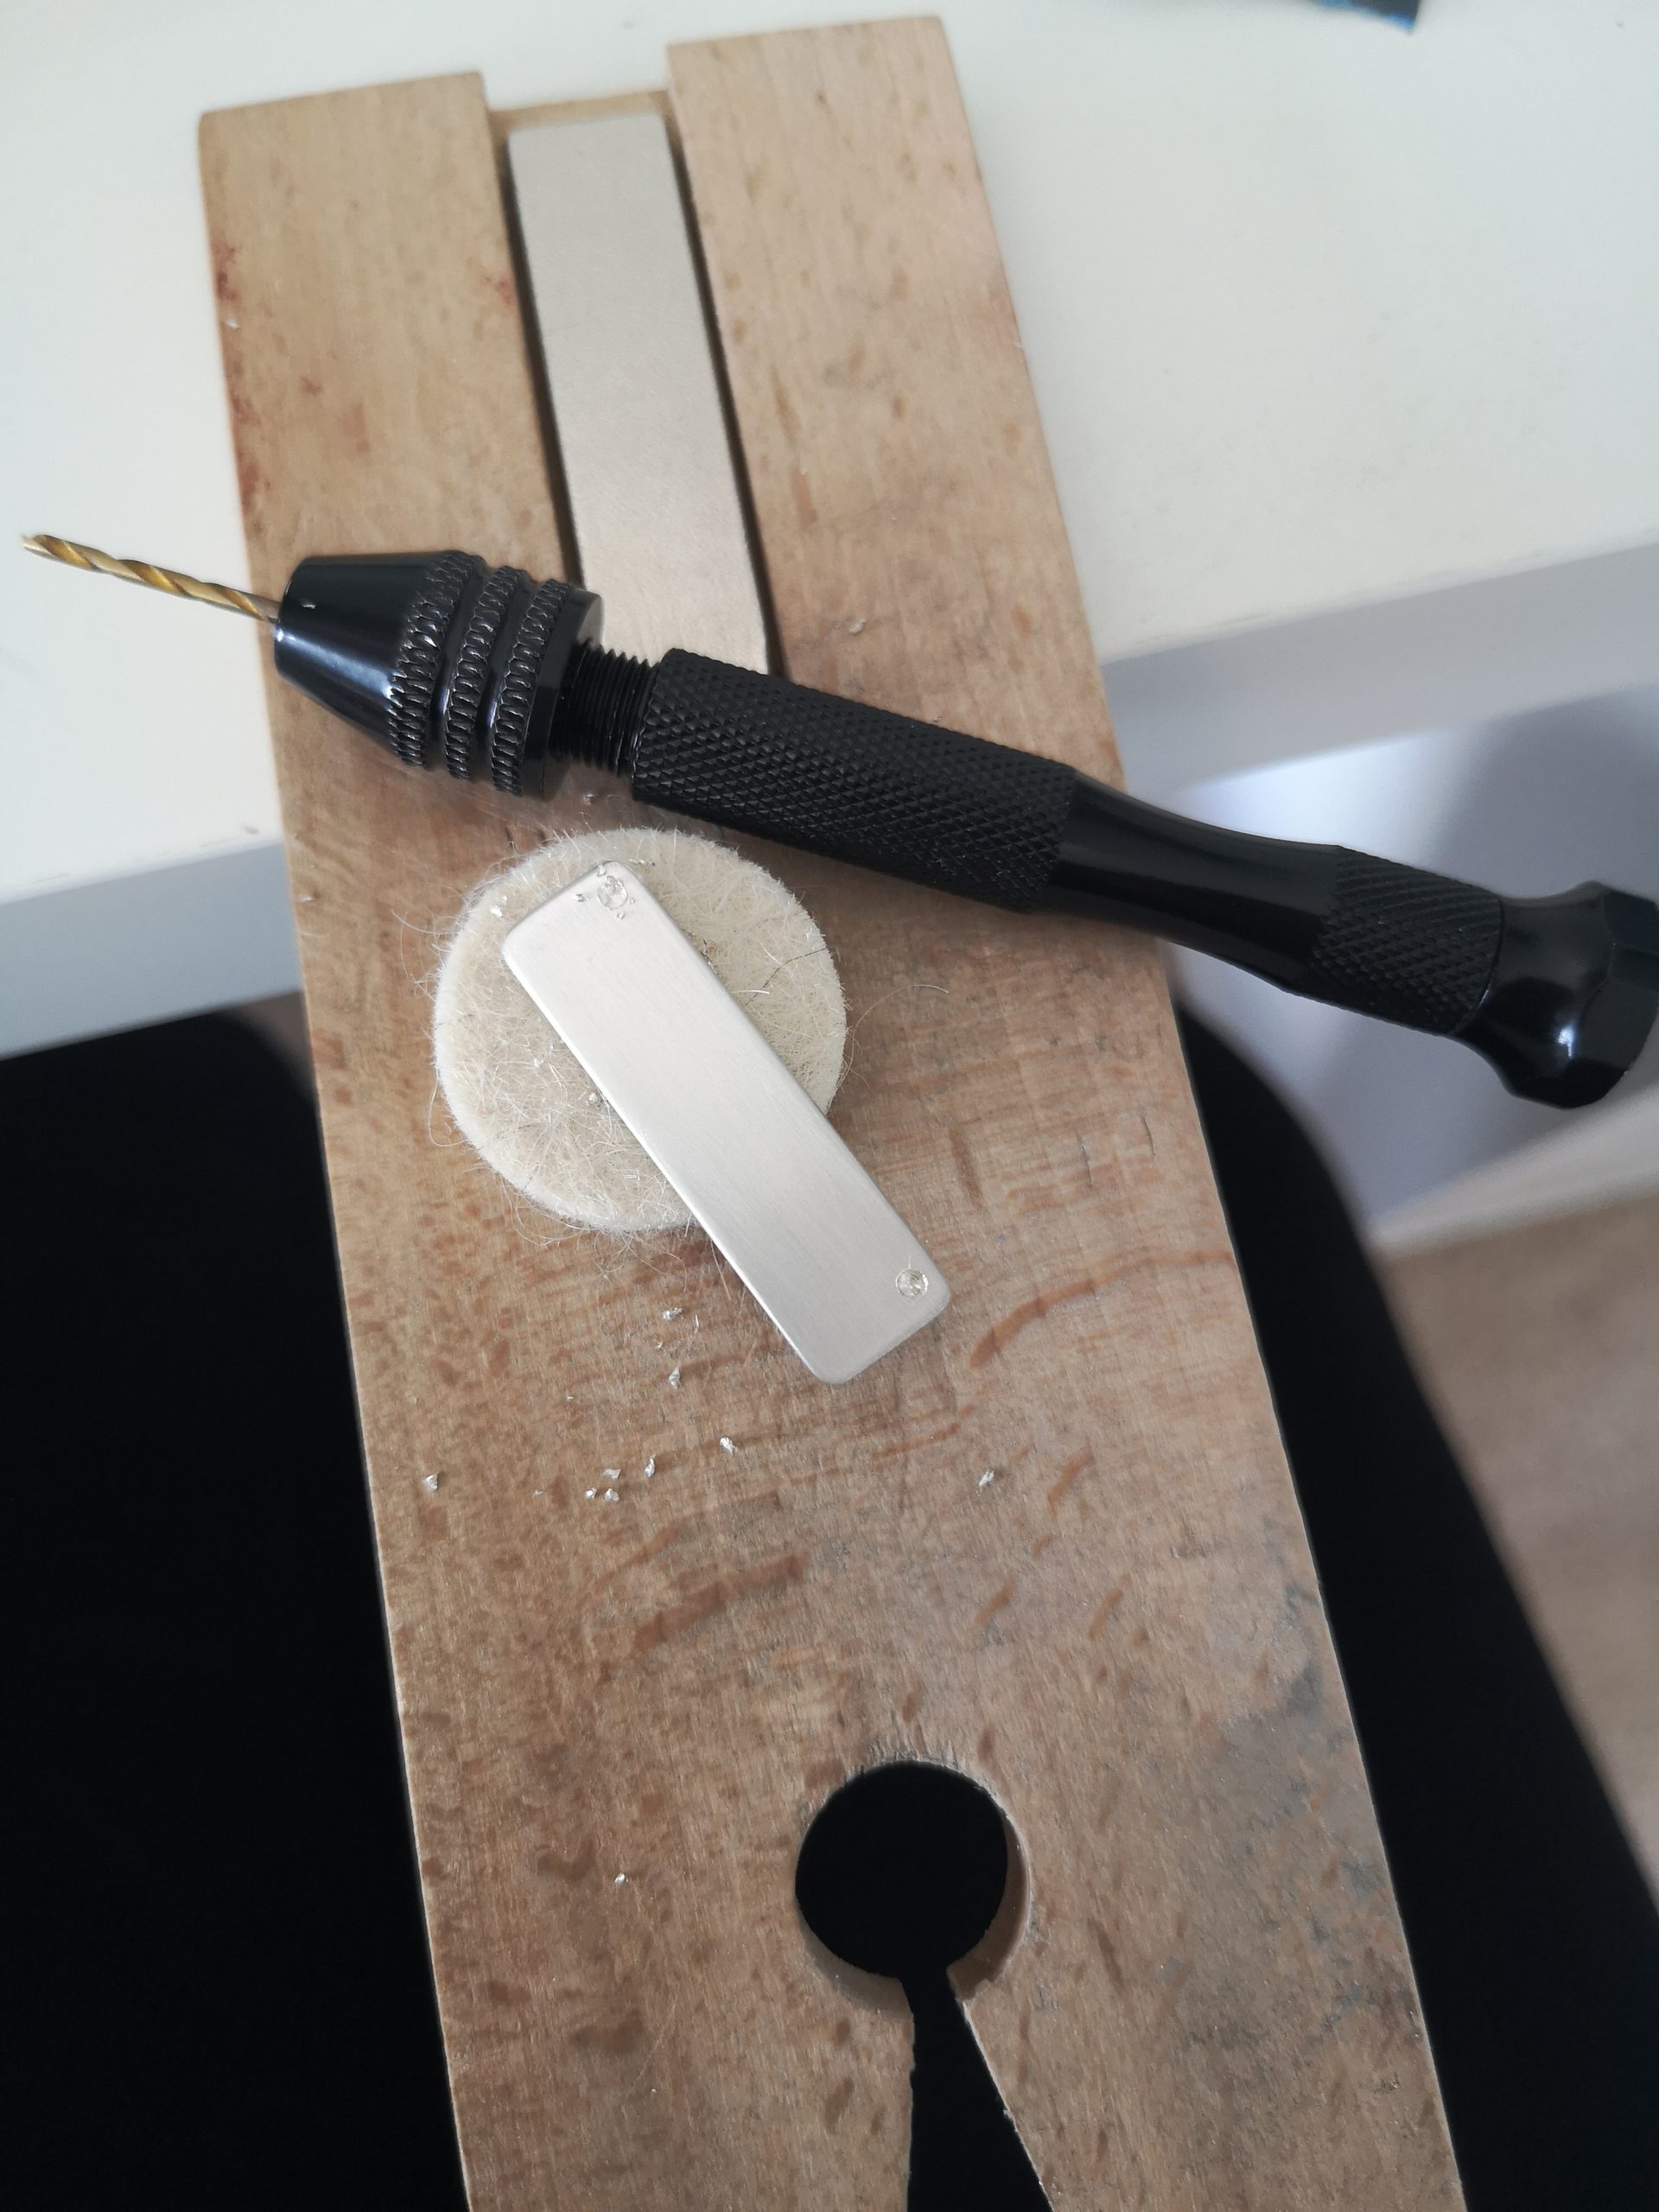
We need to drill some holes in the silver bar so that we can then attach a chain.
I have a handy little manual drill, but you can pick up a Dremel drill or similar which can speed up the process.
Step Six
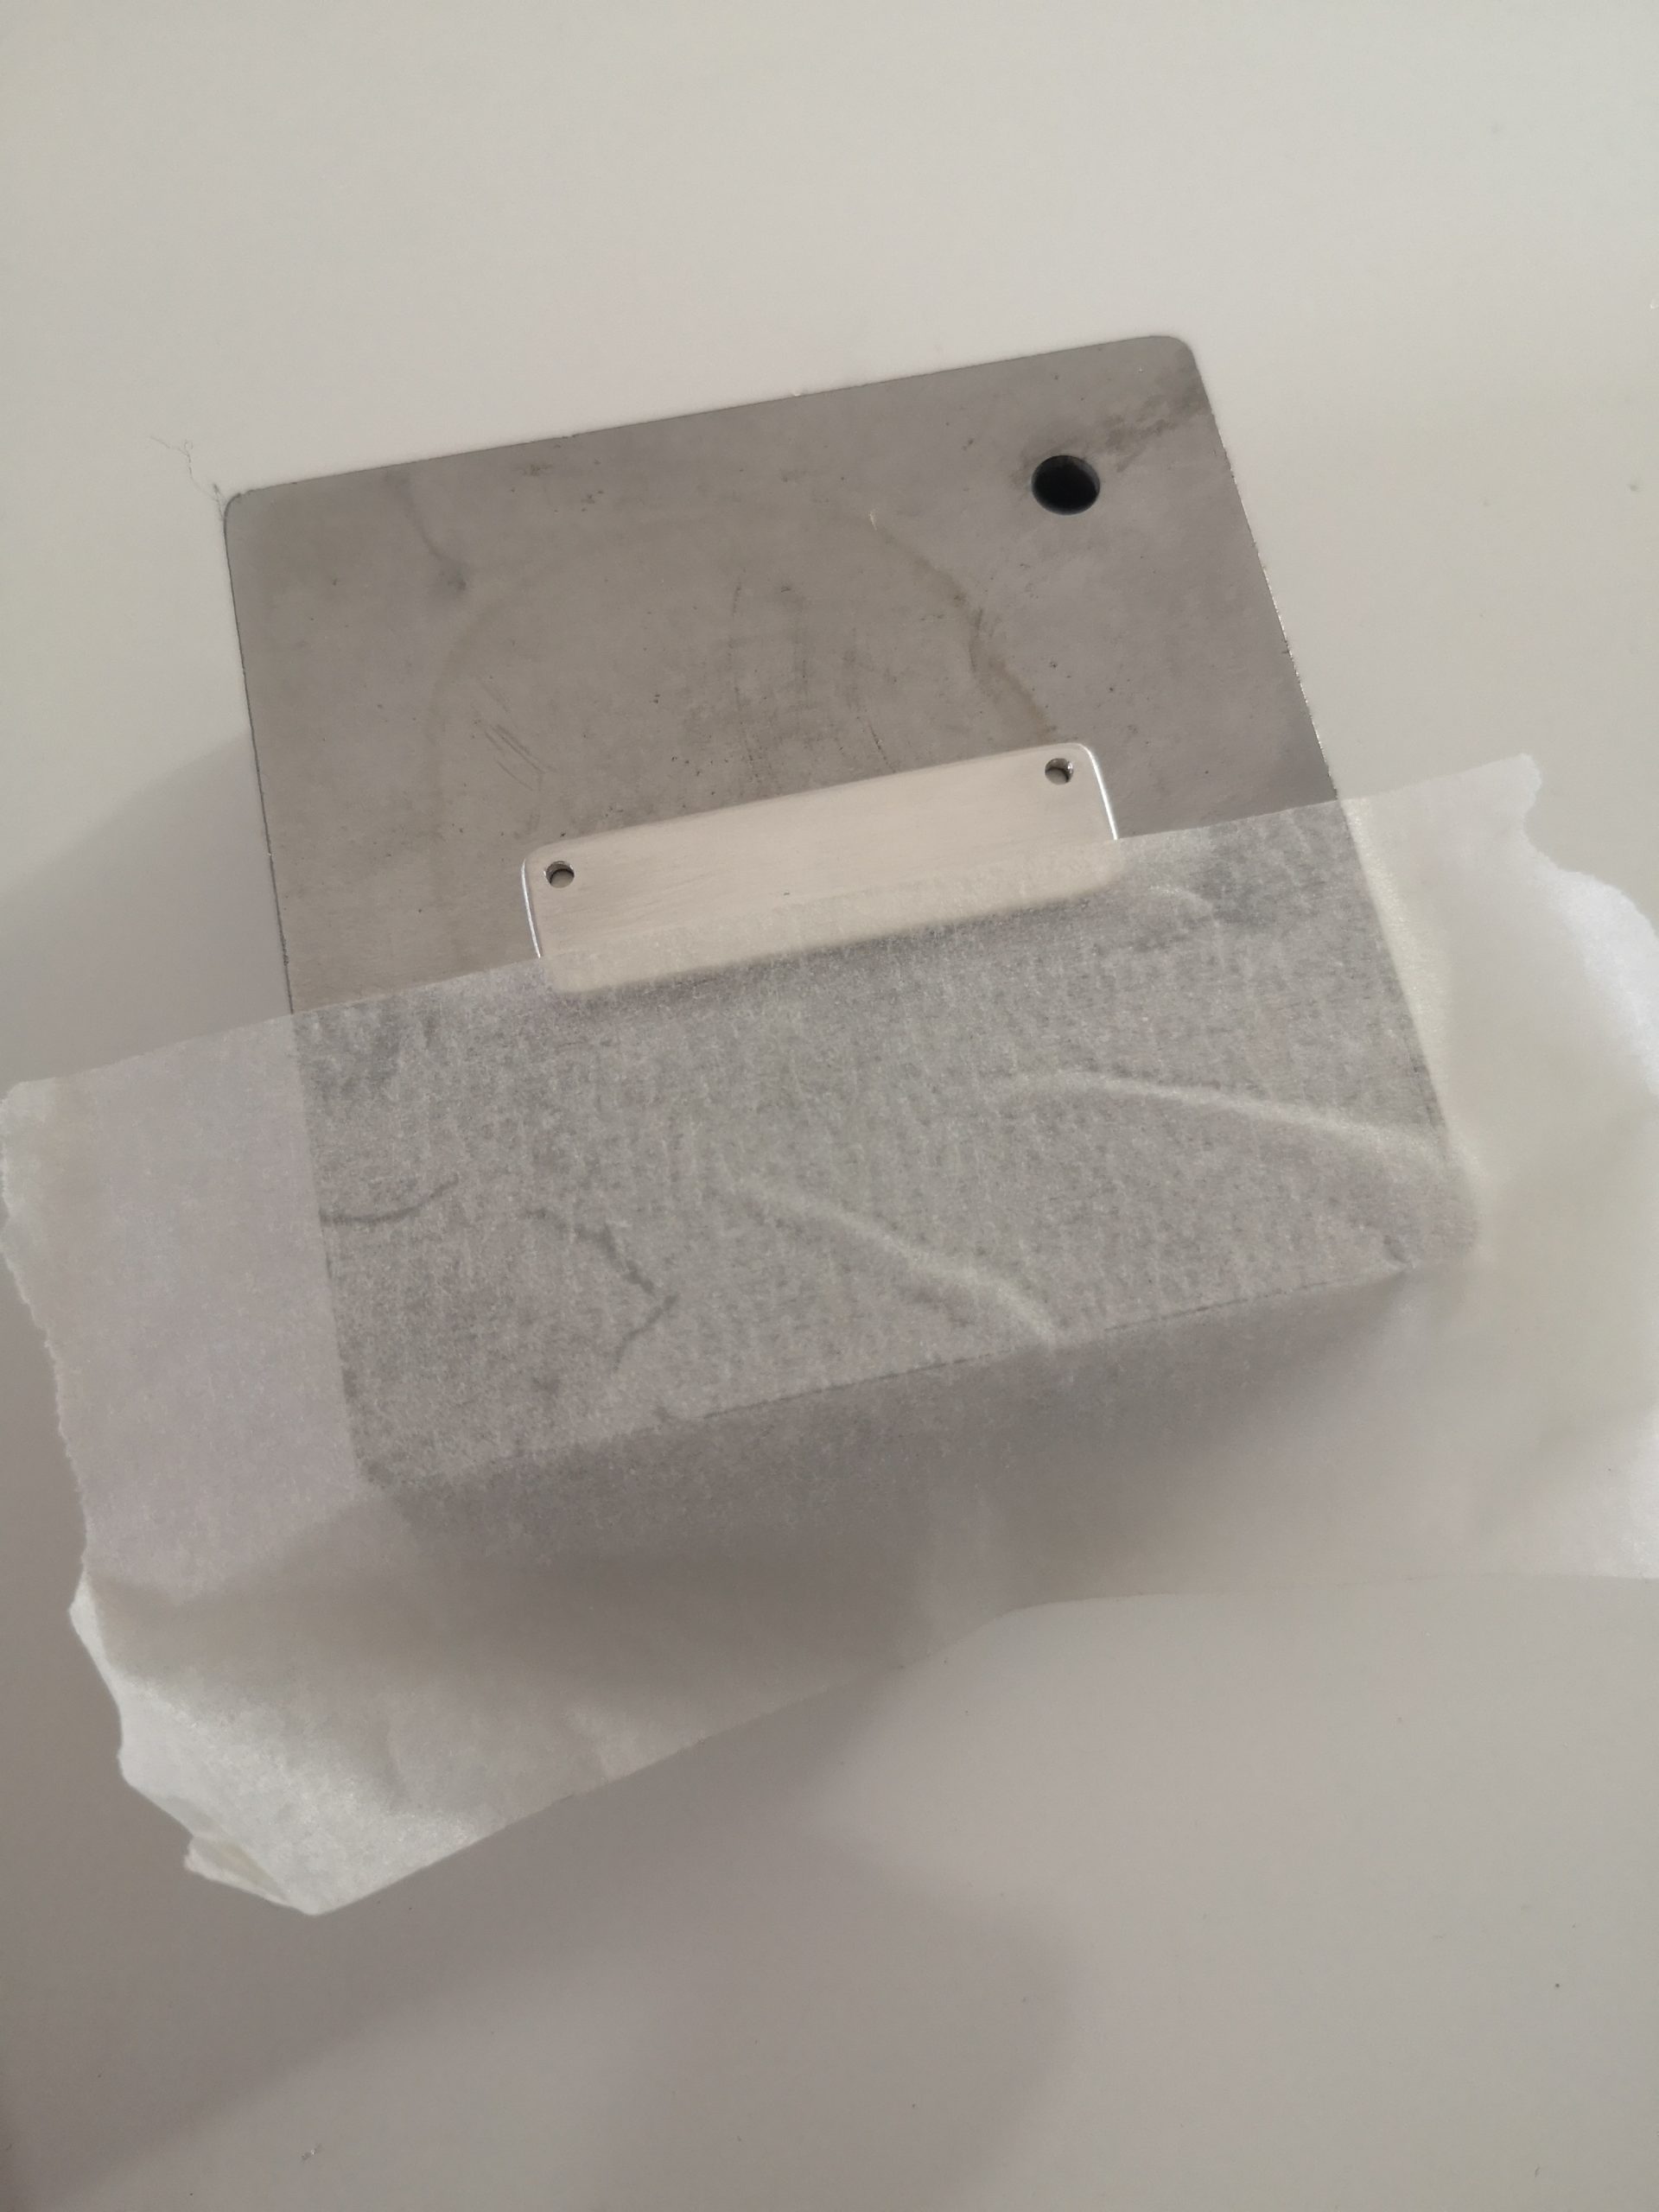
If you’re wanting to personalise your bar at this stage with some stamping, then start by taping the bar to a metal block using masking tape. This will hold it in place while you stamp.
Step Seven
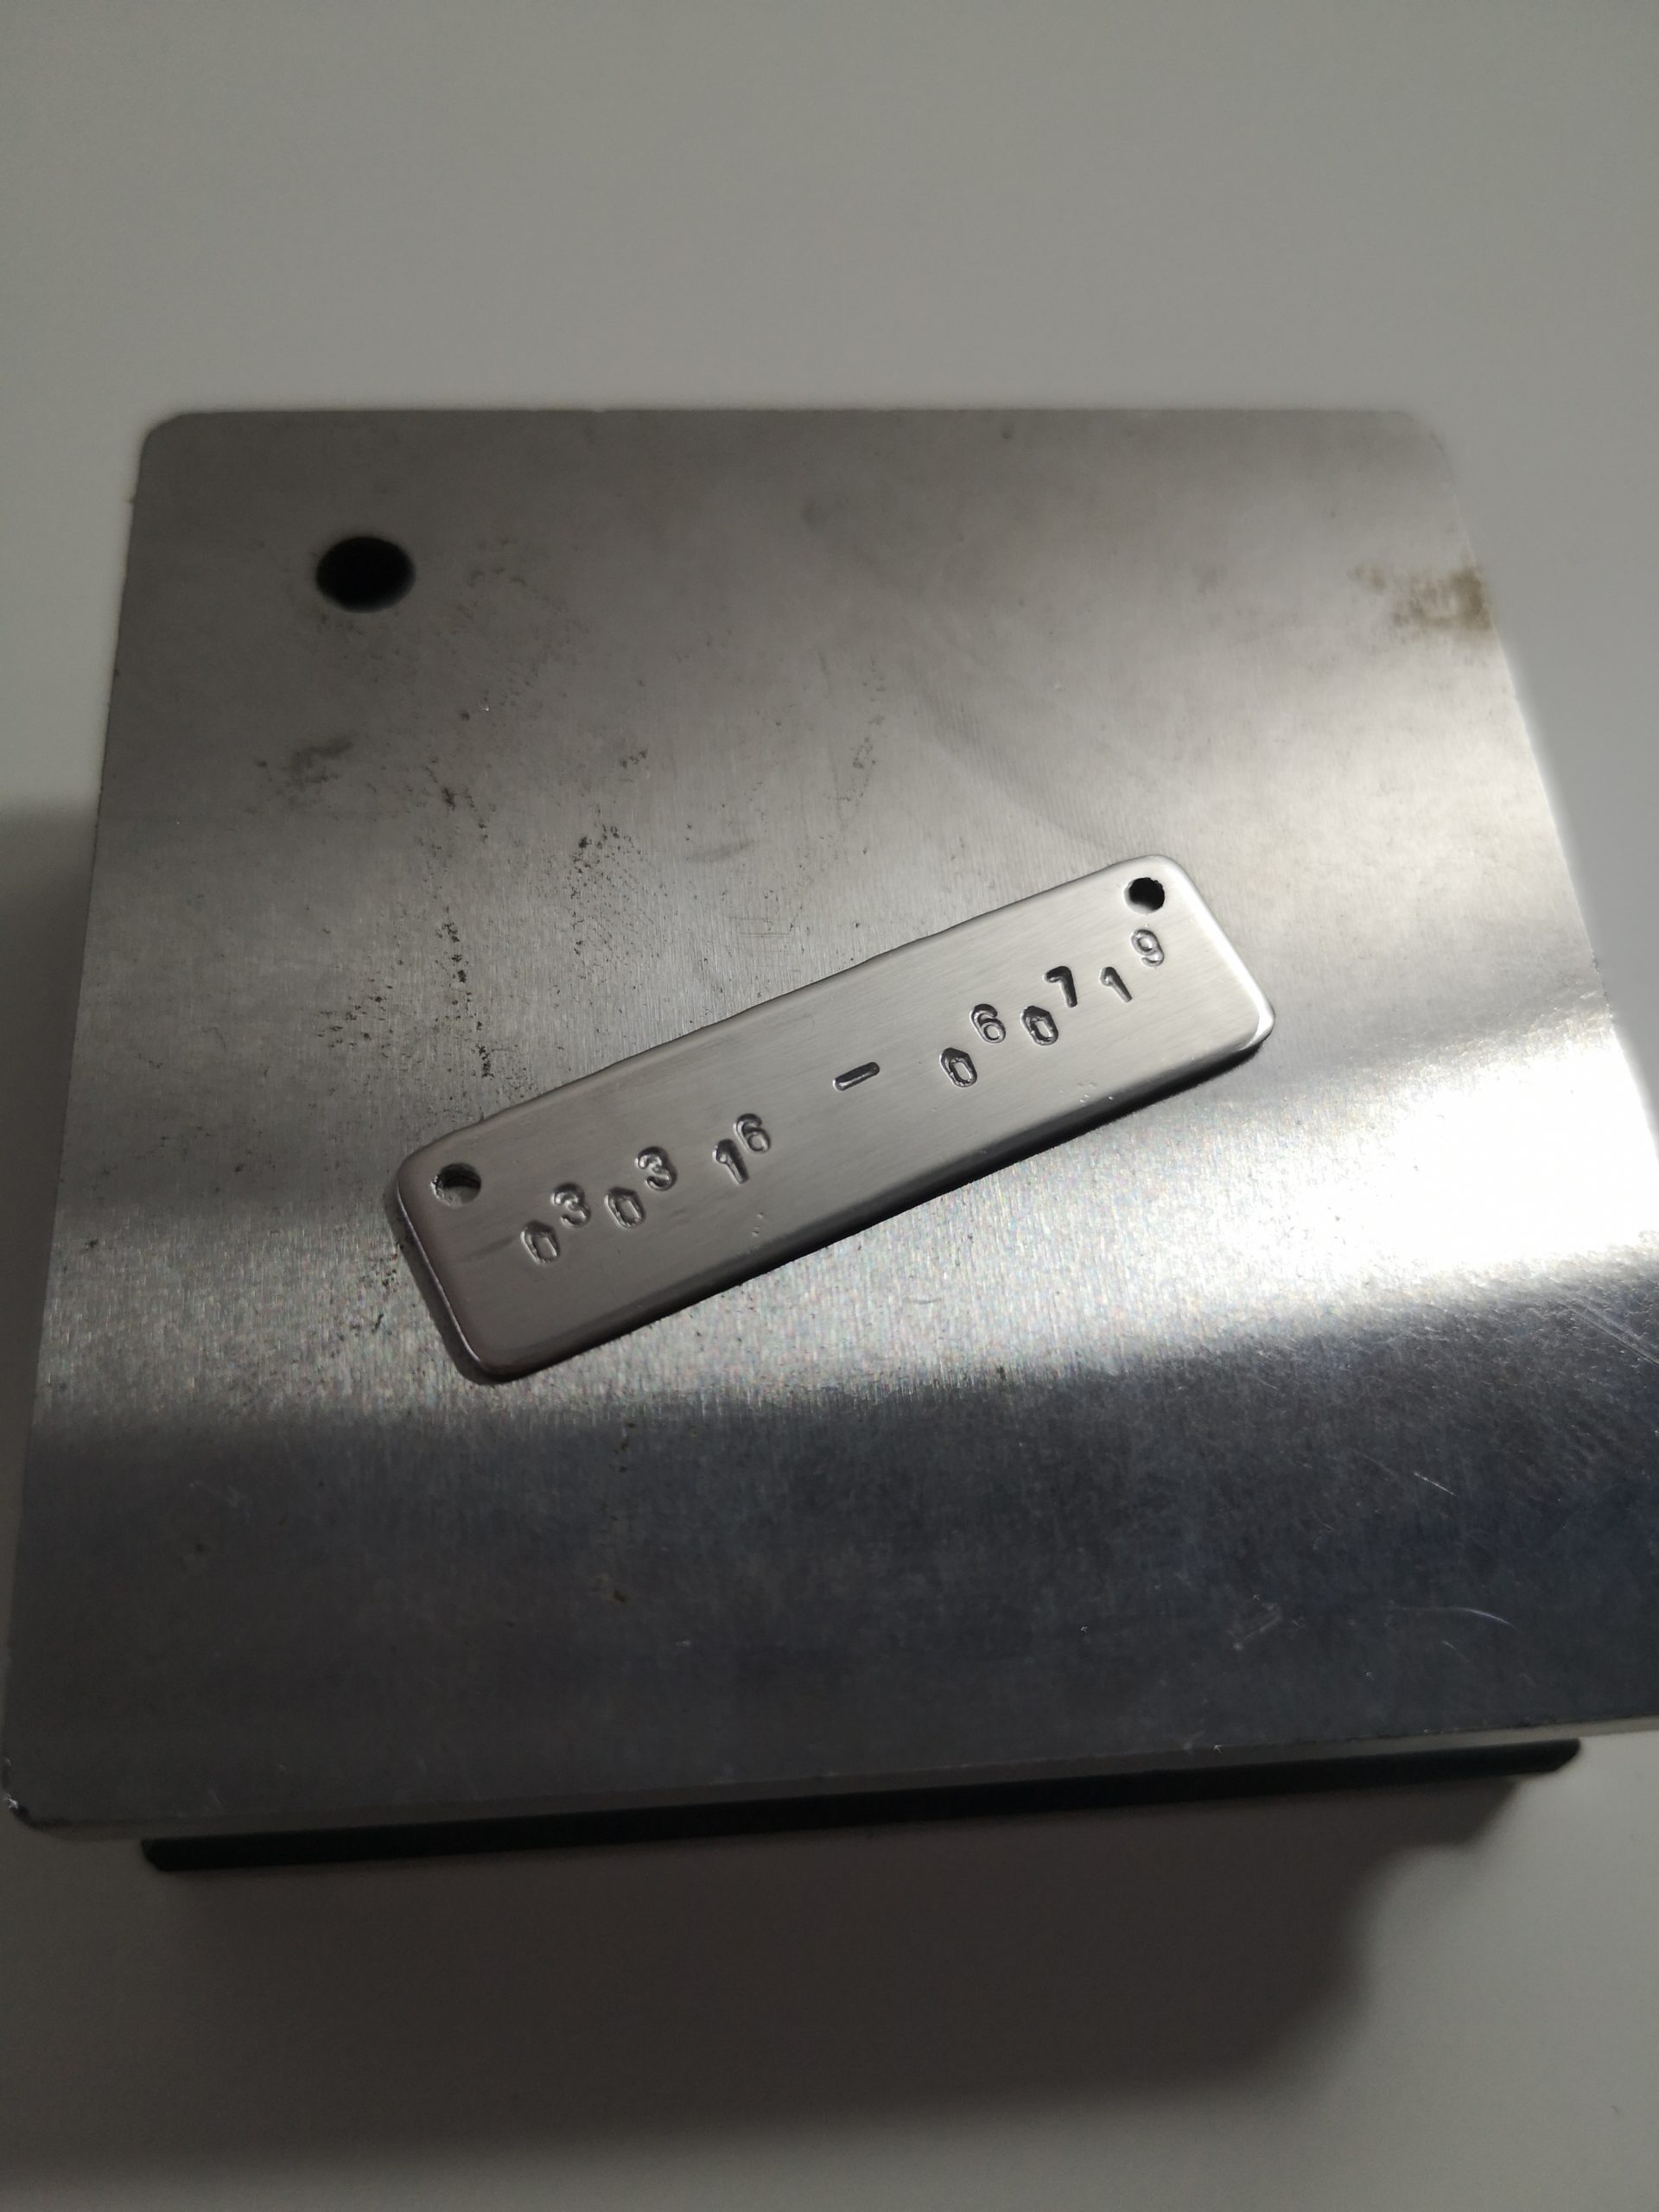
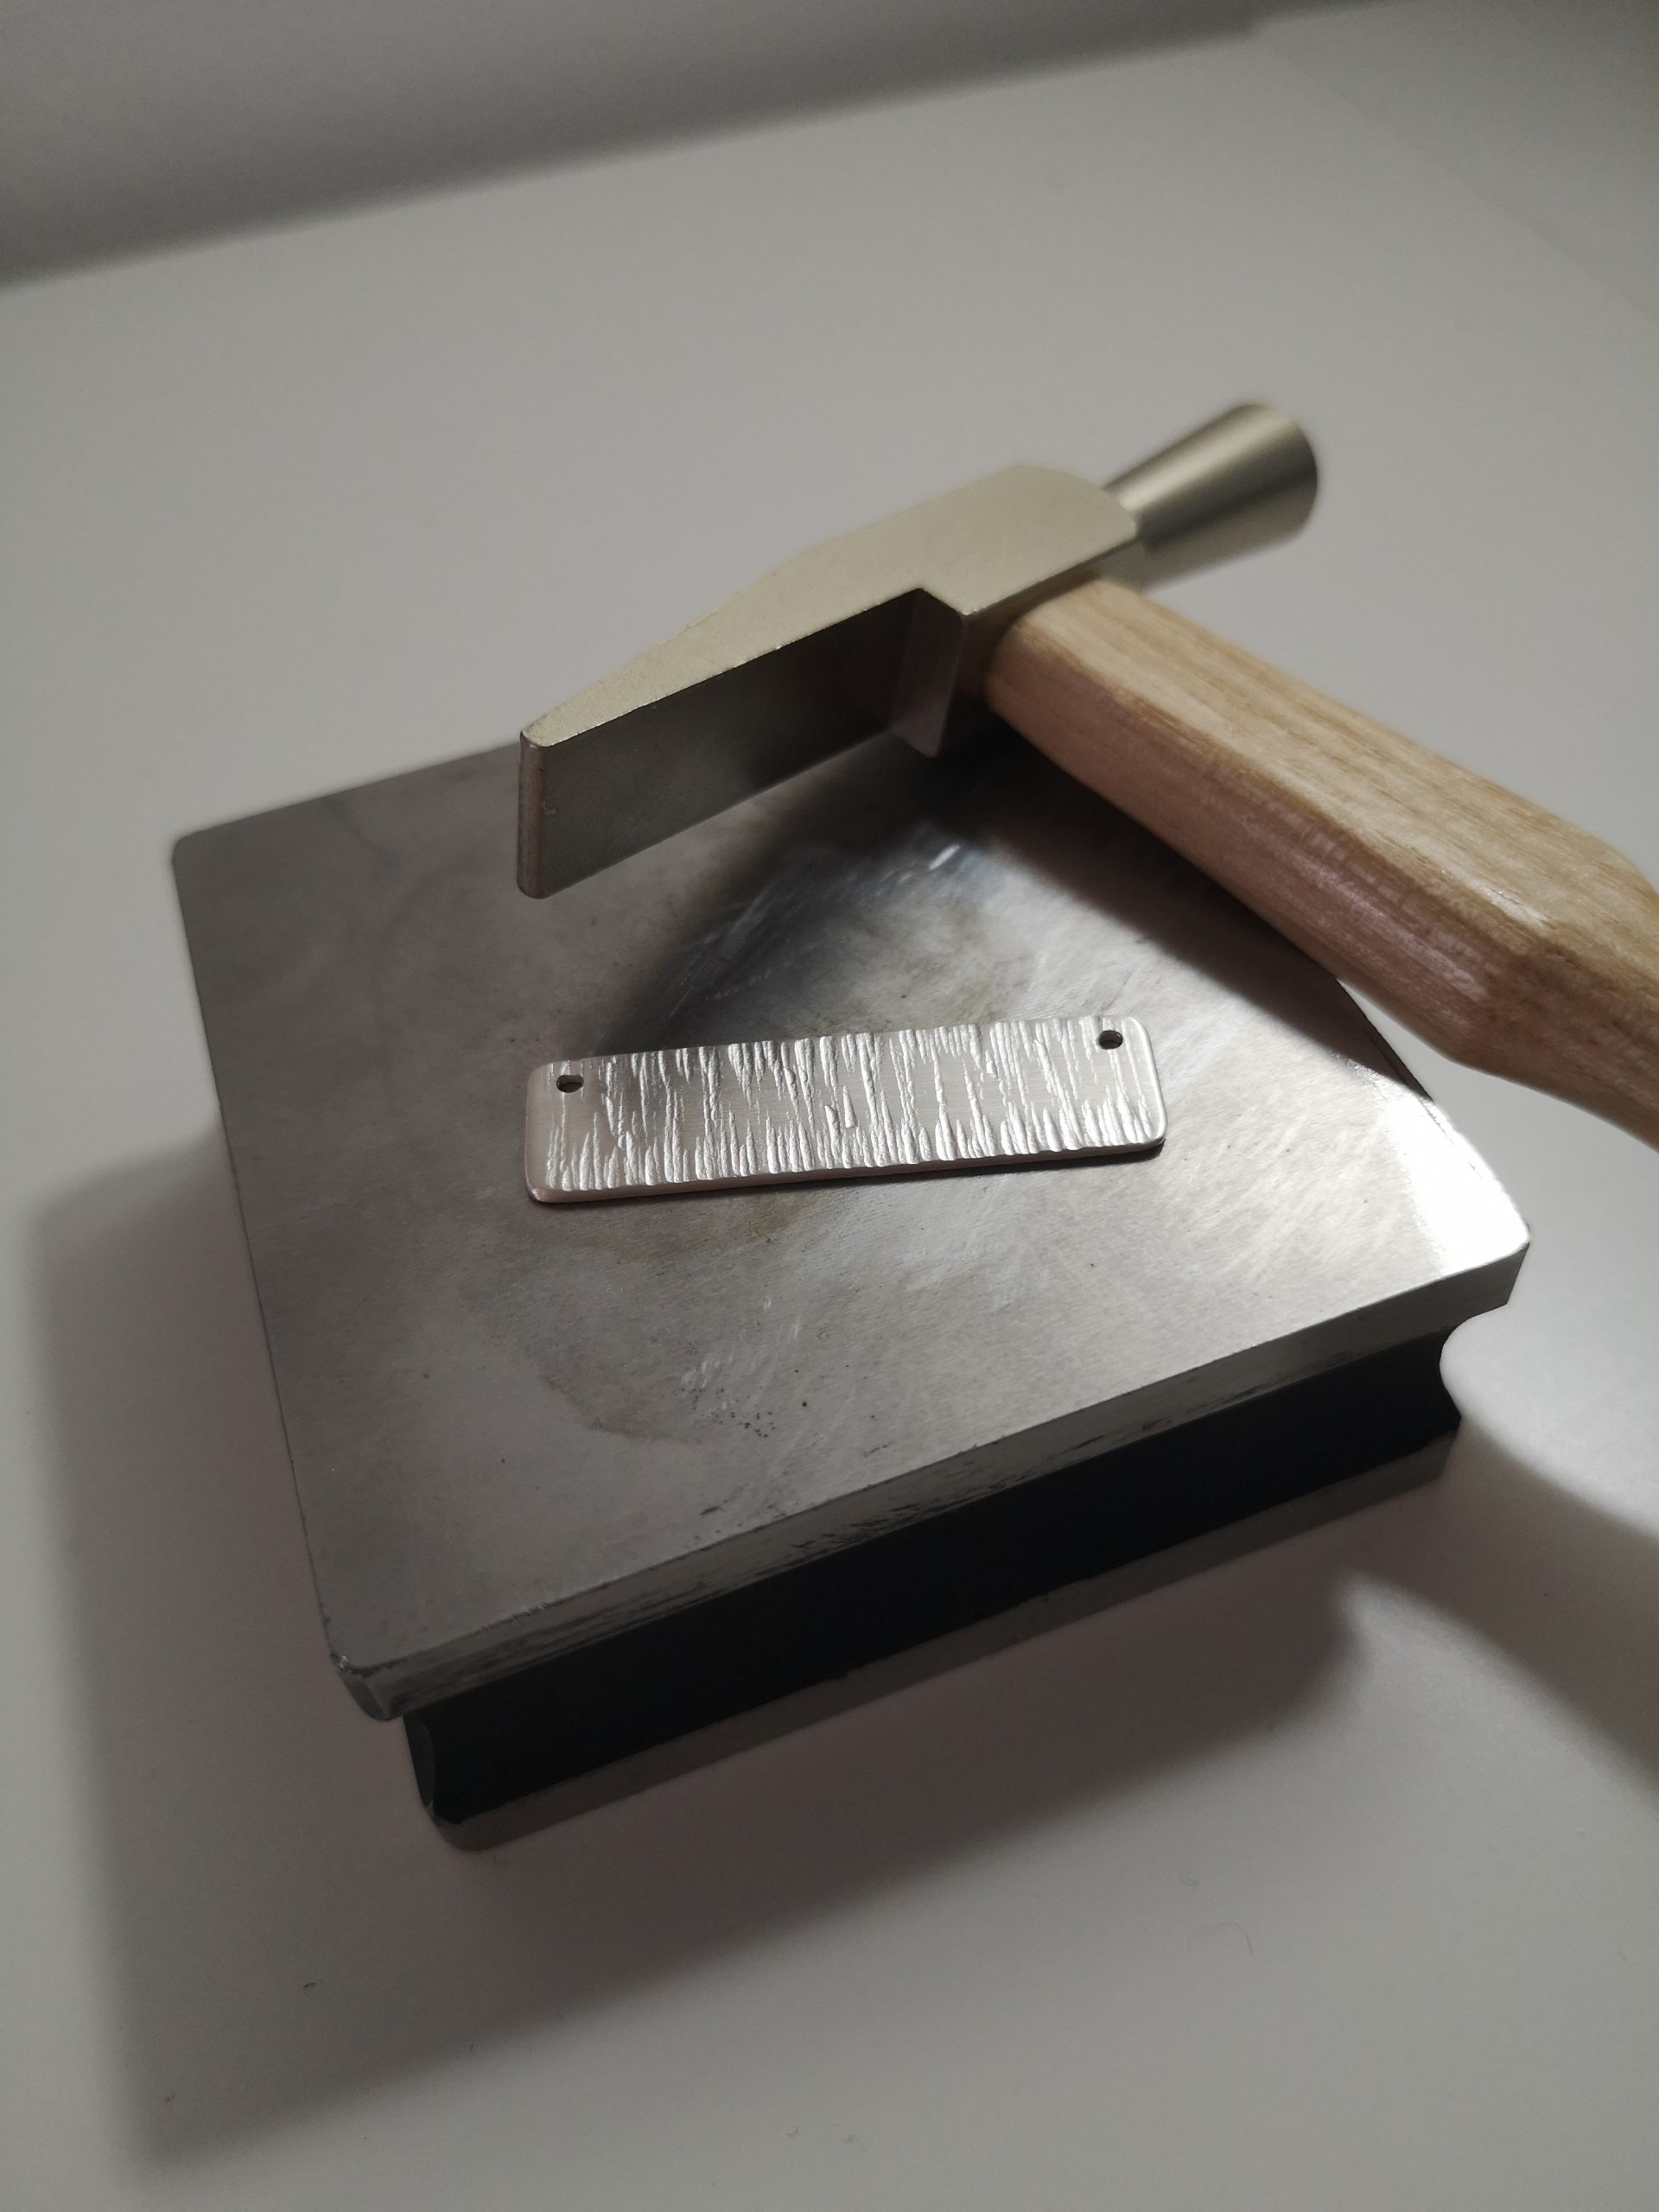
Add your texture! The fun part, and the part where it really makes your item unique!
I love the line hammered look, as shown here, but you can use different ball hammers to create different looks.
Go wild and have fun!
Step Eight
Polish the silver bar using a silver polishing cloth – these are readily available on the internet, and all you do is rub your bar over it, over and over again until you get a lovely shiny appearance.
Step Nine
Find a chain you like and cut it in half with some pliers. You’ll need two jump rings to feed through the bar as well as the necklace chain.
Make sure they stay circular and are tight together.
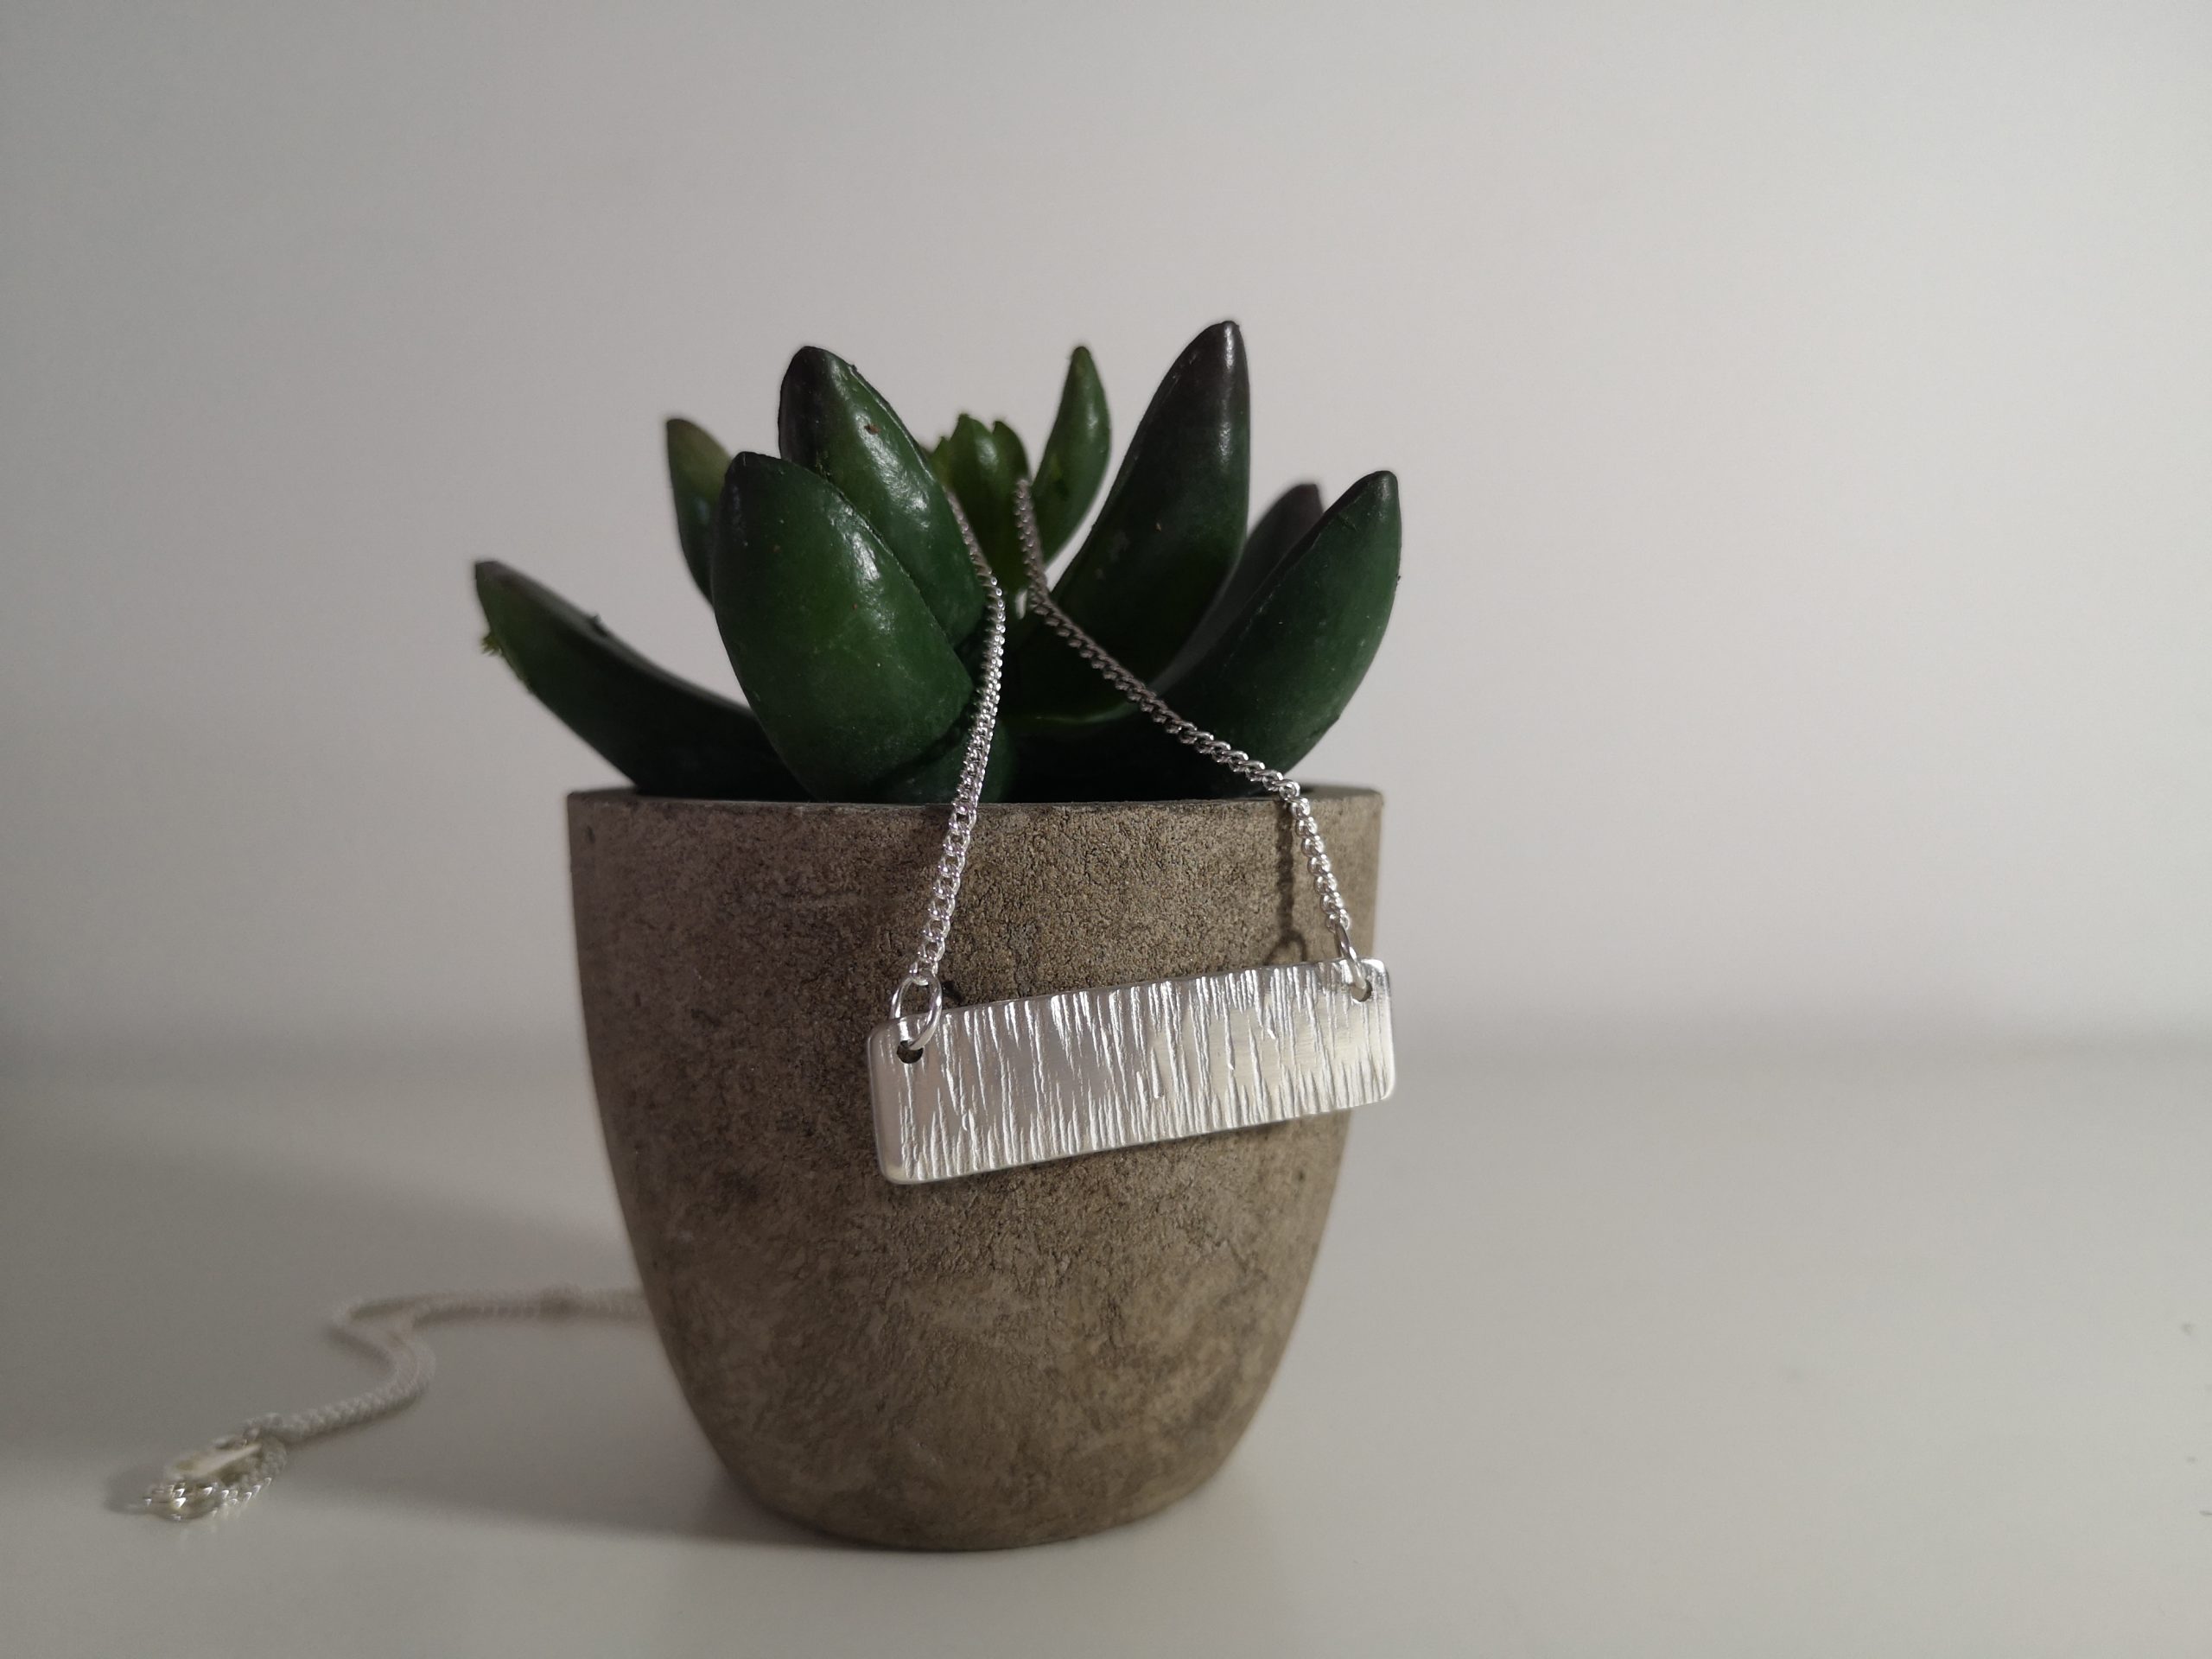
There you have it – your very own shiny Sterling Silver Hammered Bar Necklace 🙂
Buy one instead, click here?
